05/13/2006
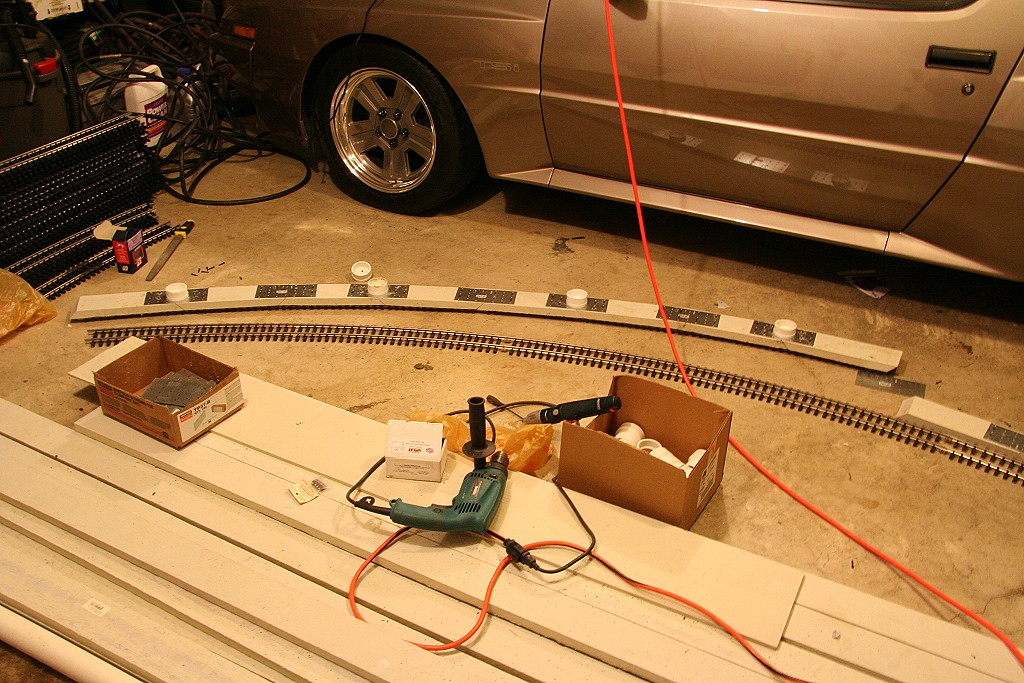
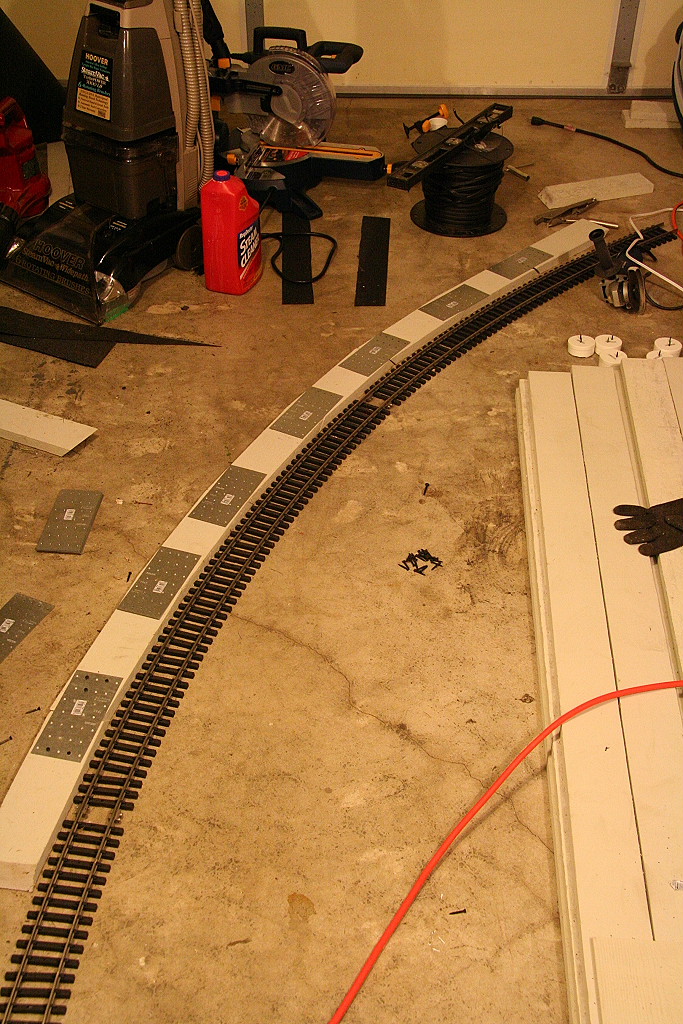
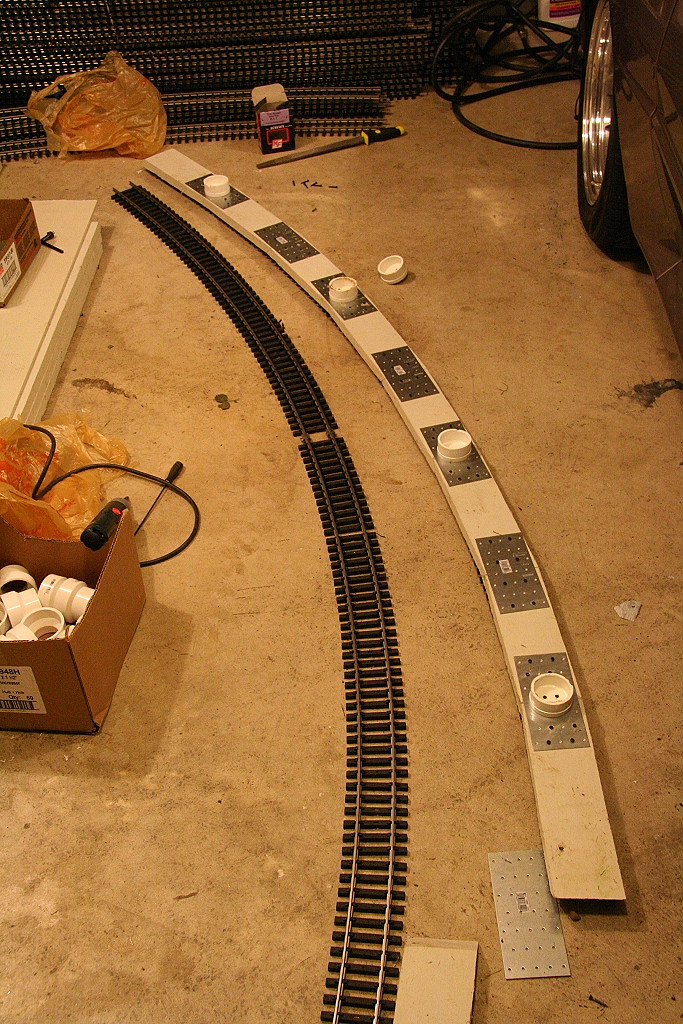
The new basement ramp line is under construction. The curves are
being pre-made in 1/8th circle sections. The new design is proving to be very sturdy.
As far as materials, I'm using the 5/4 Hardiplank boards cut as
shown with 3.5 degree side to side cut so the pieces can fit perfectly together
and follow the 20ft diameter curve track sections. They also have a top to
bottom 45 degree angle cut to provide additional strength. Each section is
screwed together with the plates show and can be purchased in the framing
section at Home depot.
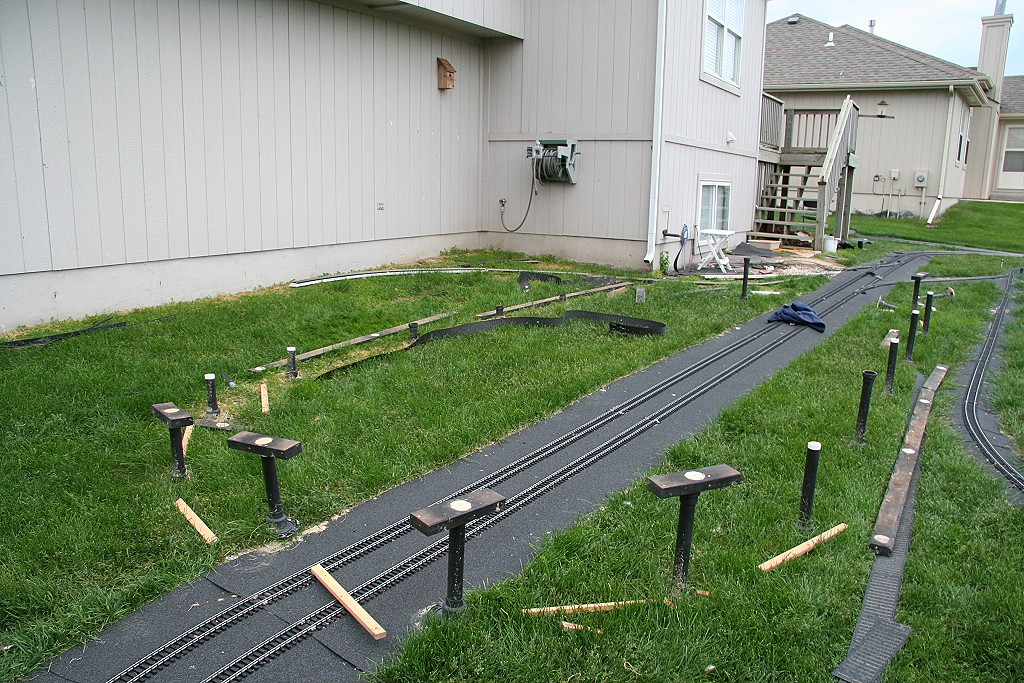
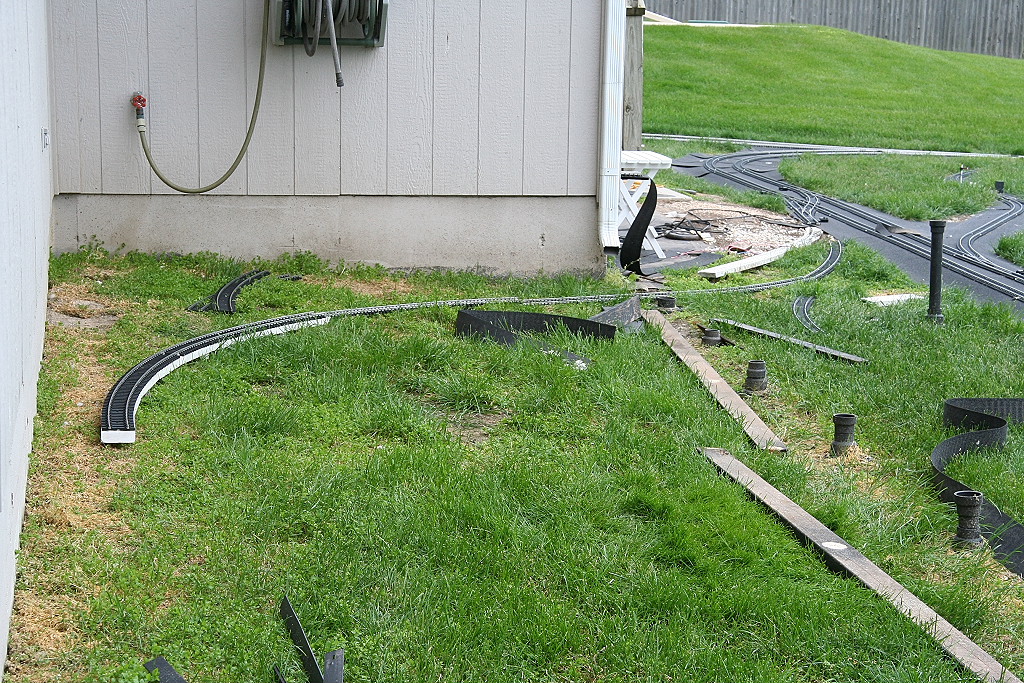
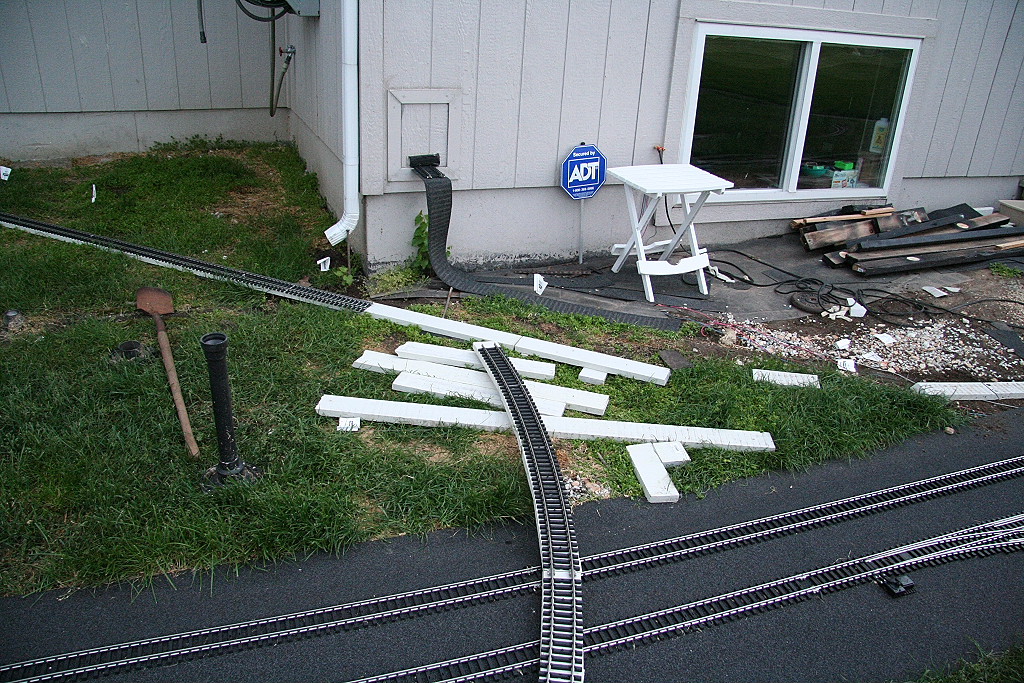
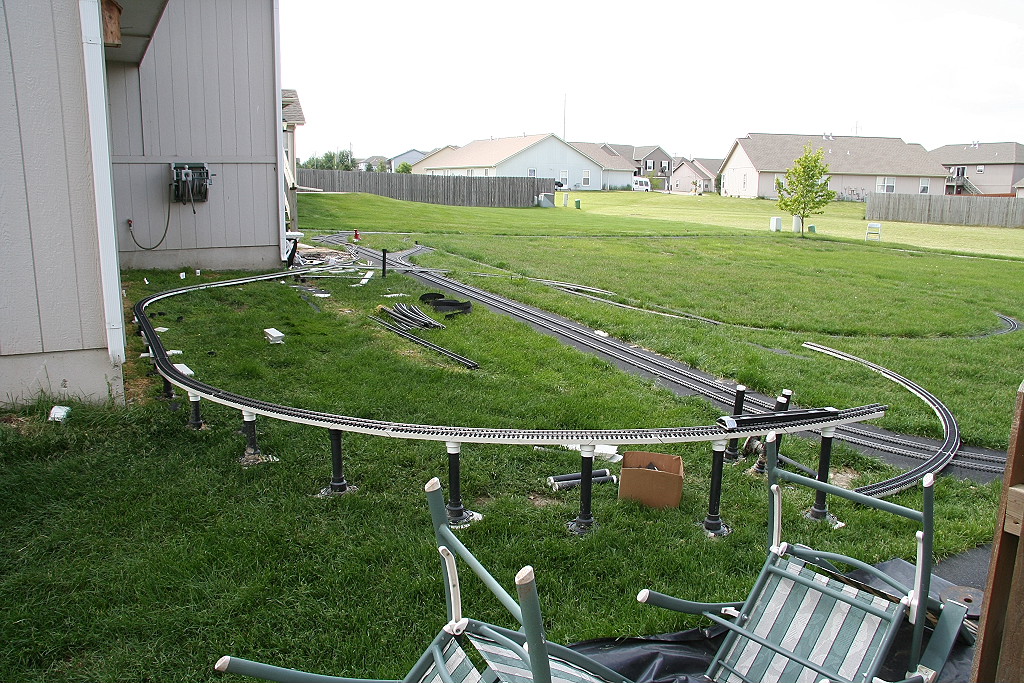
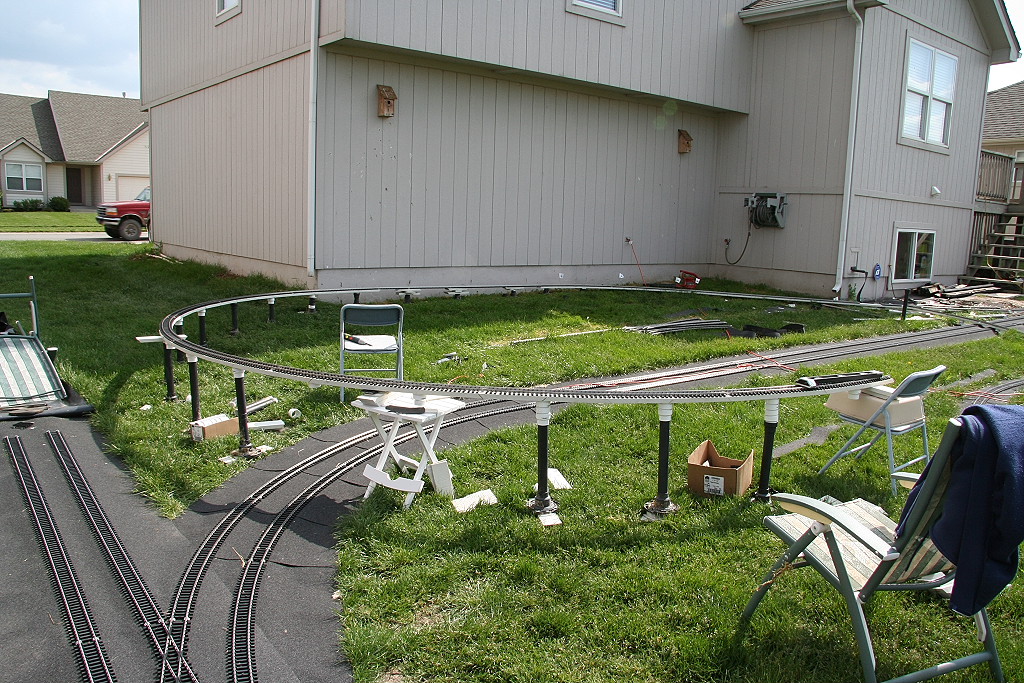
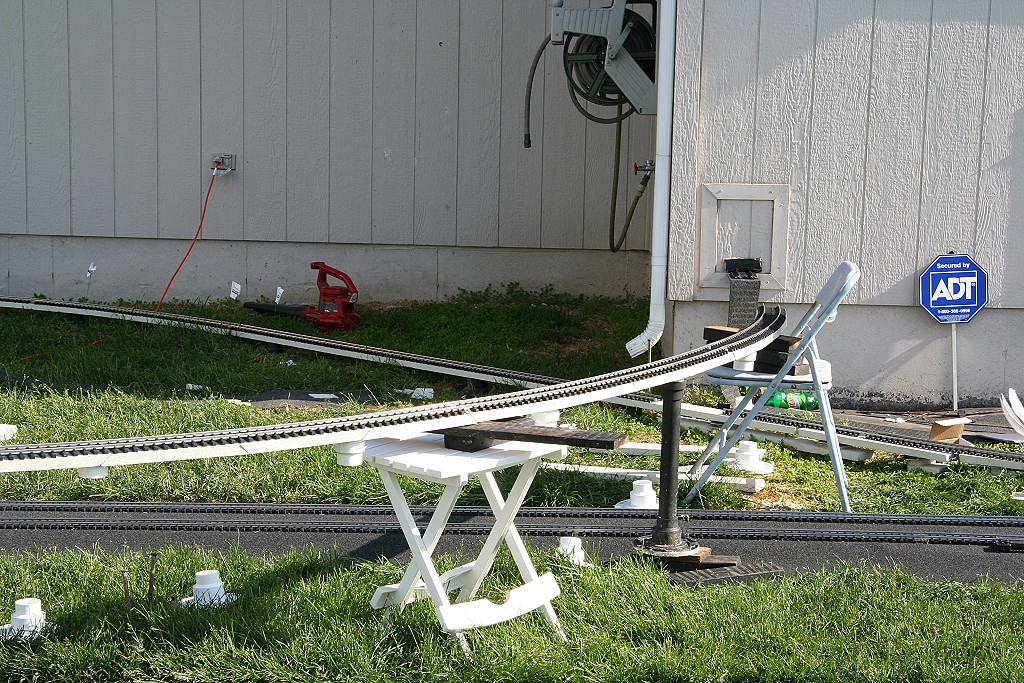
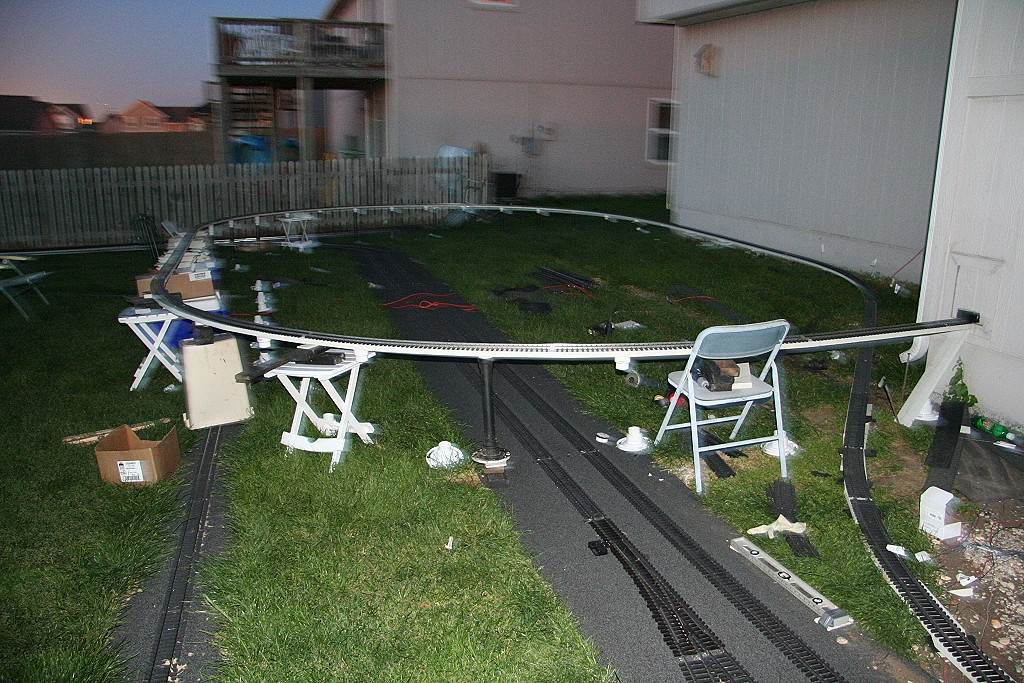
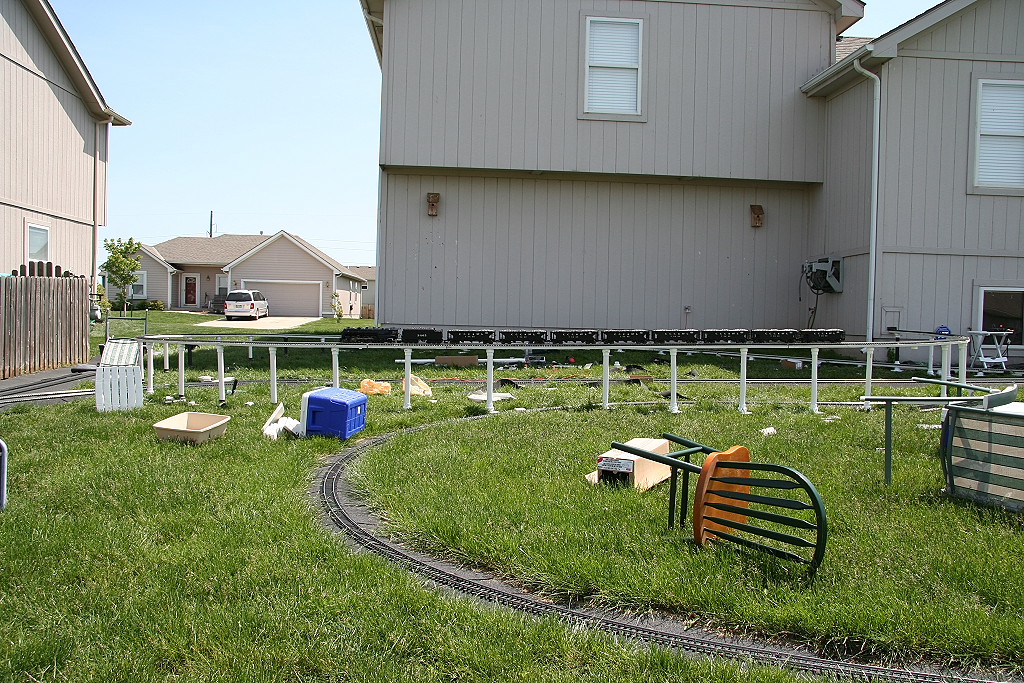
05/14/2006
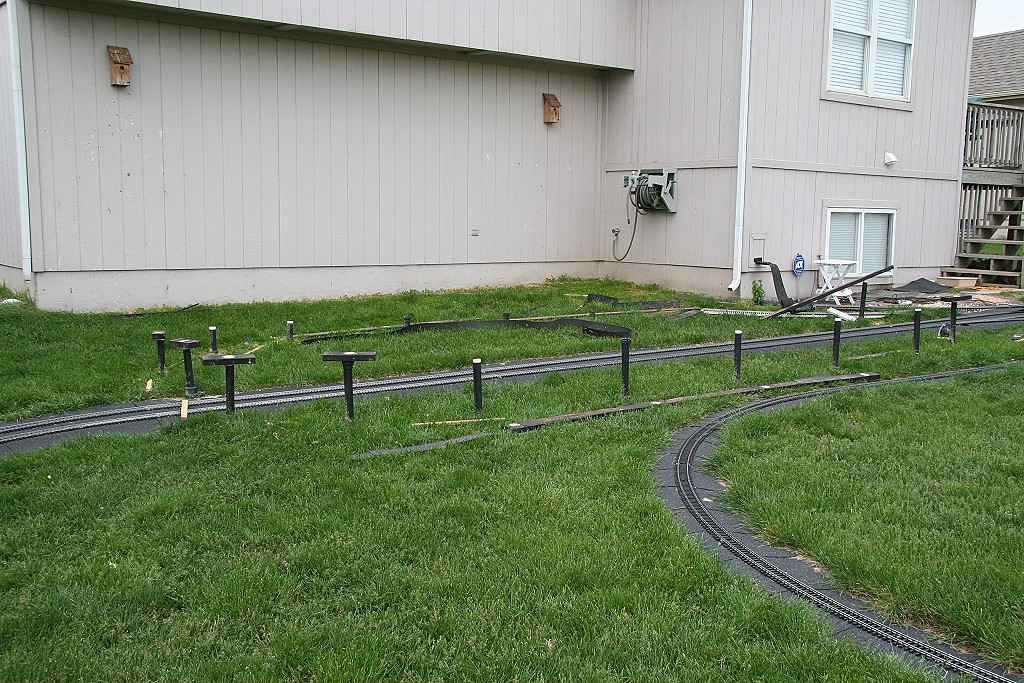
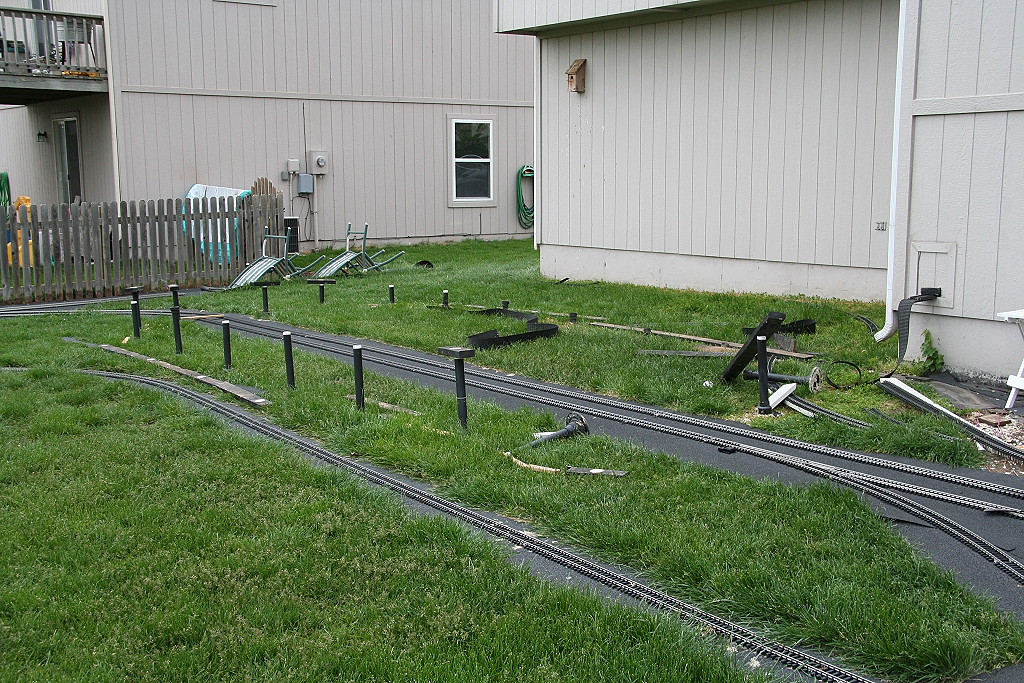
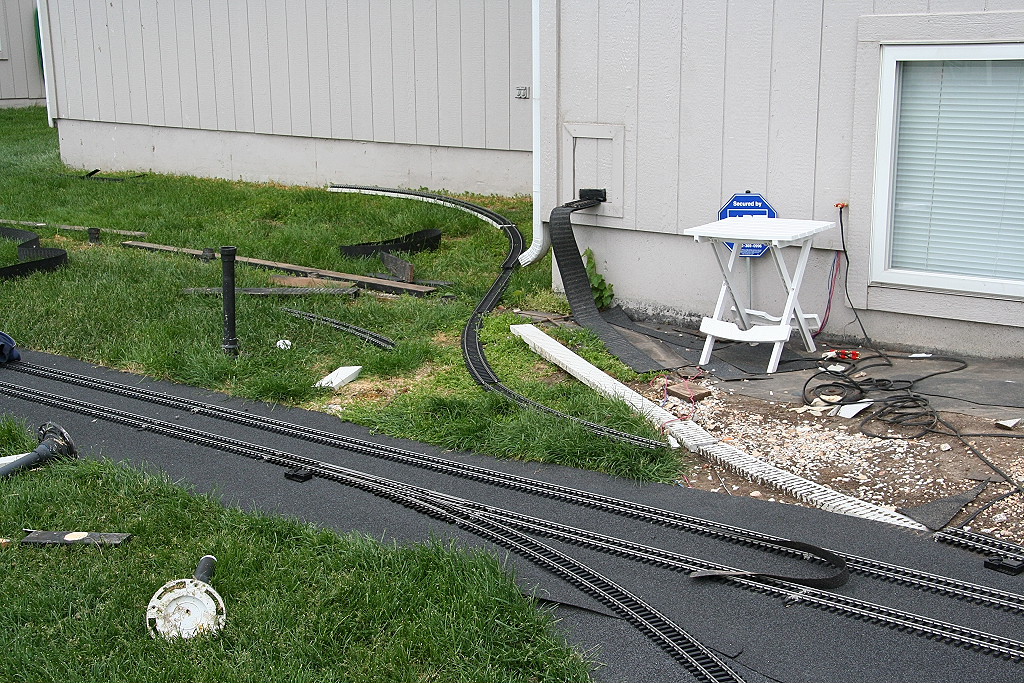
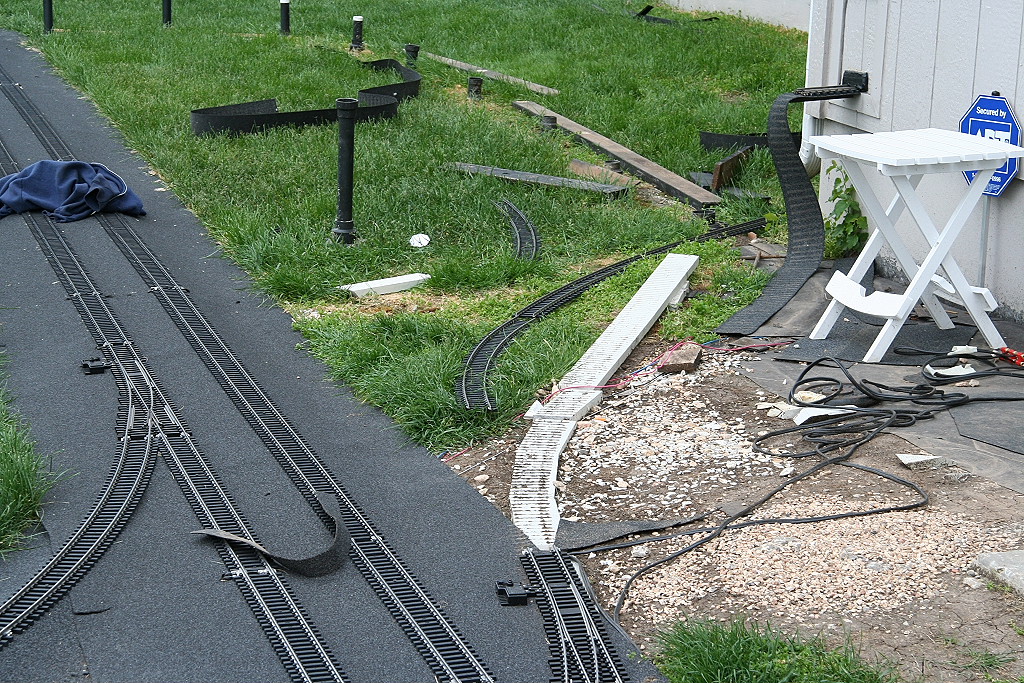
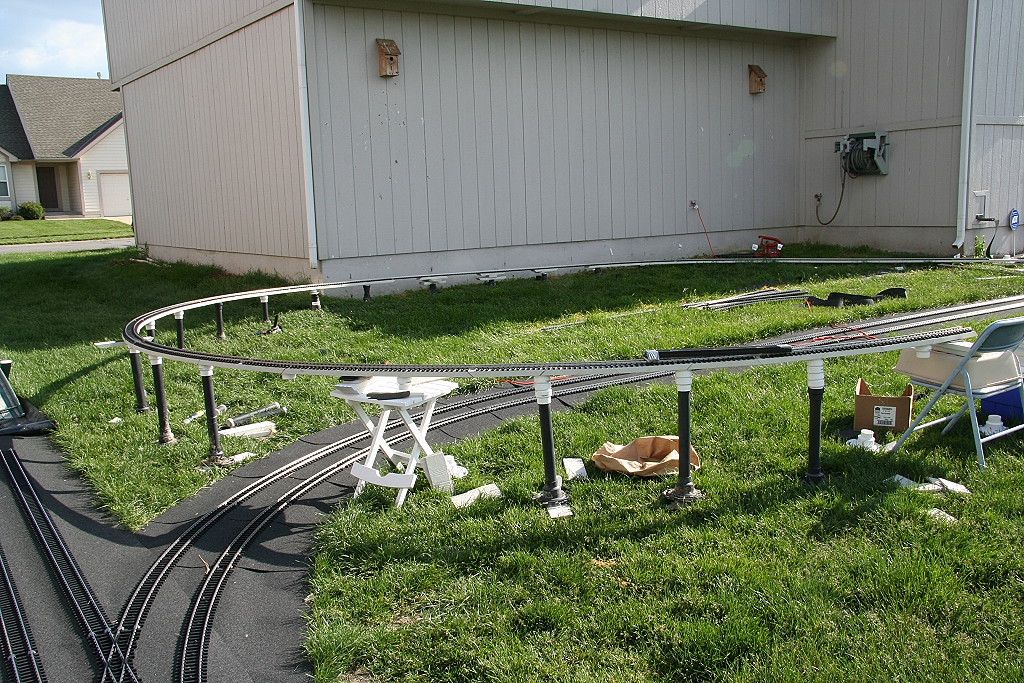
The existing basement ramp has been torn down and the new path
has been selected and is visible from where some temporary track is laid in the
pictures. The final selected path won't curve quite so much around the
corner. By running further into the recessed area behind the house, the
new line will be longer with 20ft diameter curves and the other ramp straight
will only extend out 3 feet further into the yard.
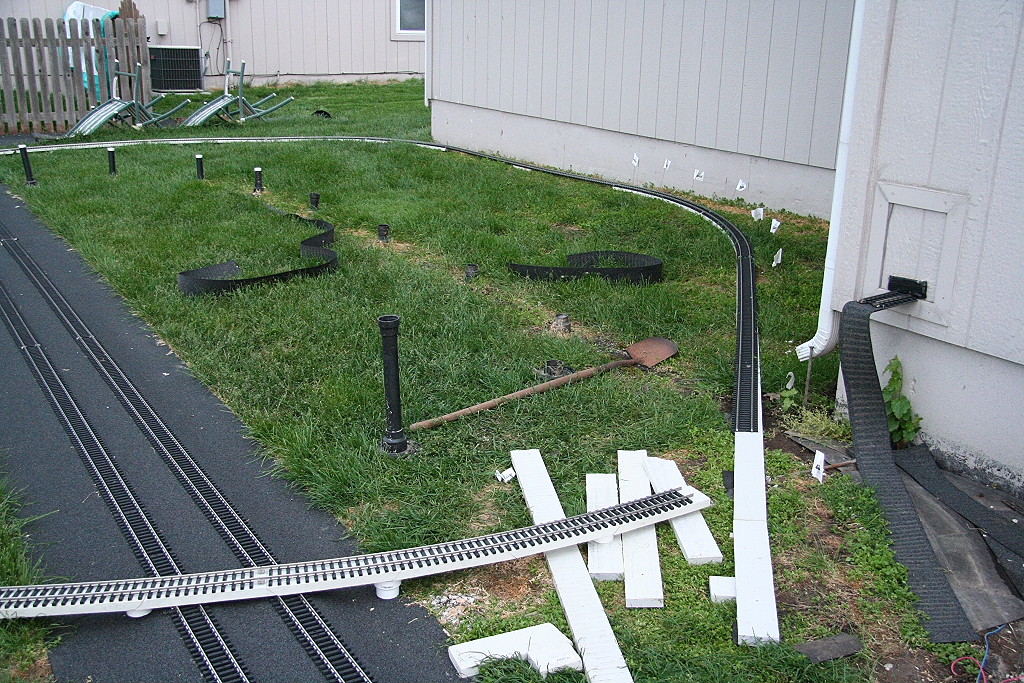
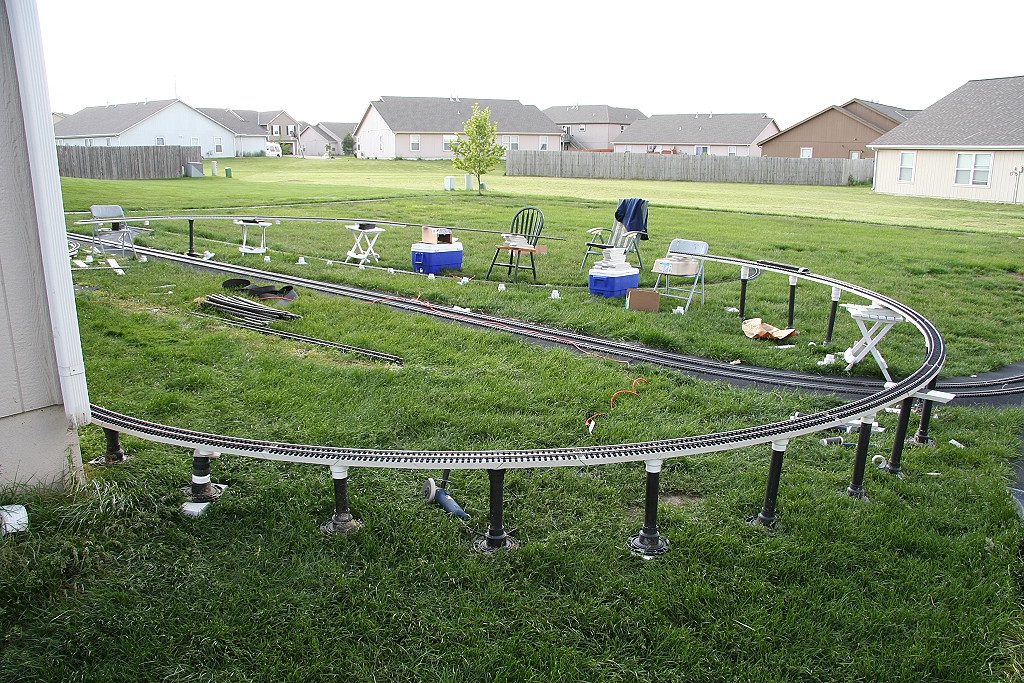
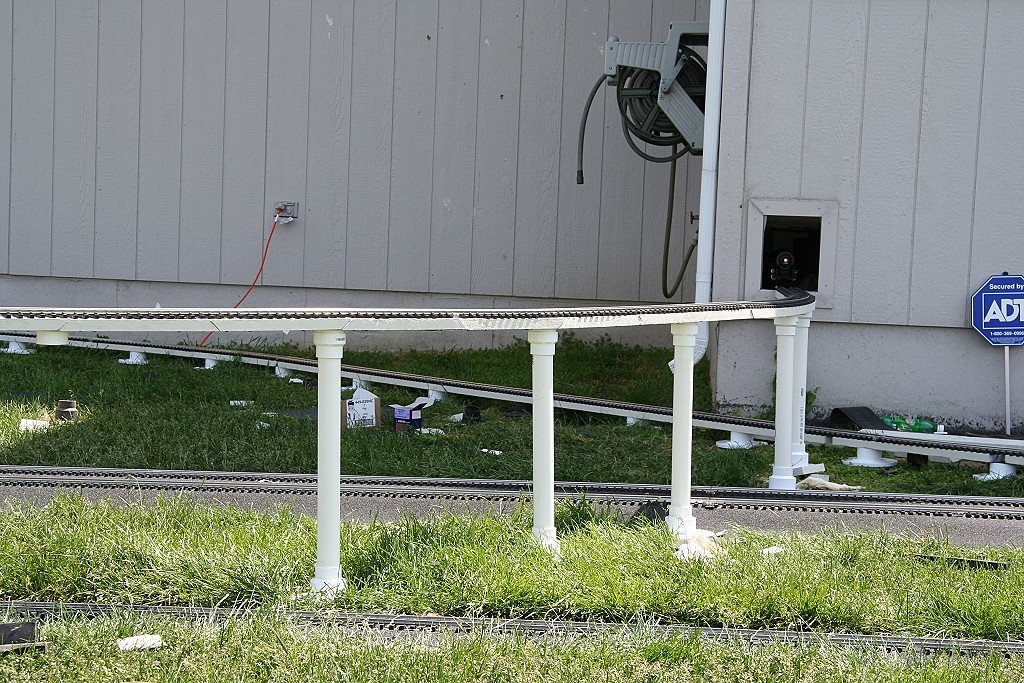
05/15/2006
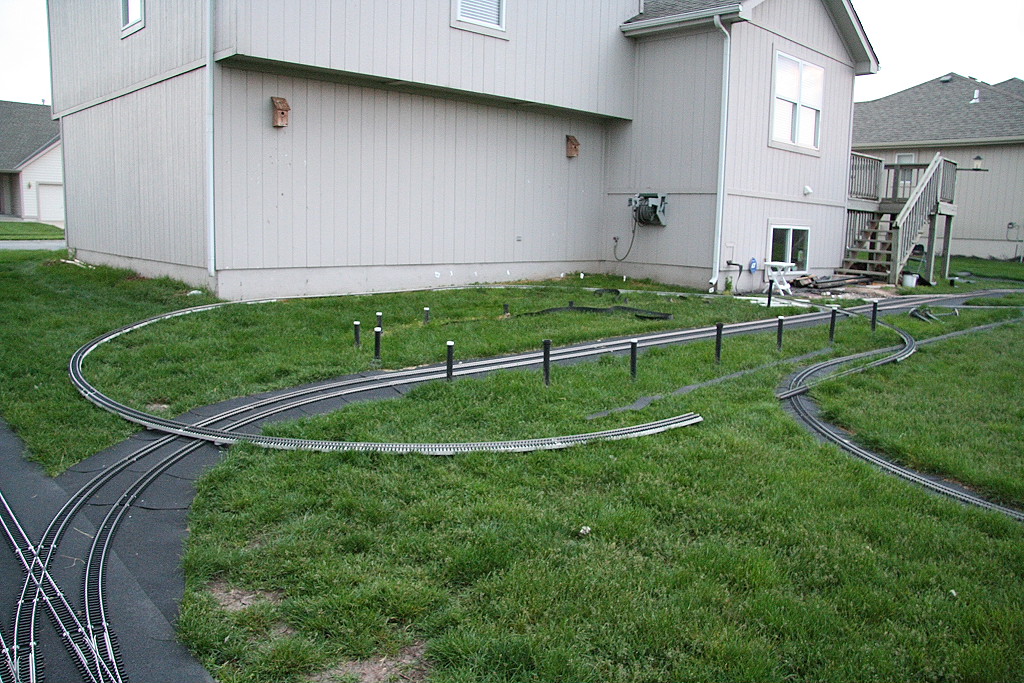
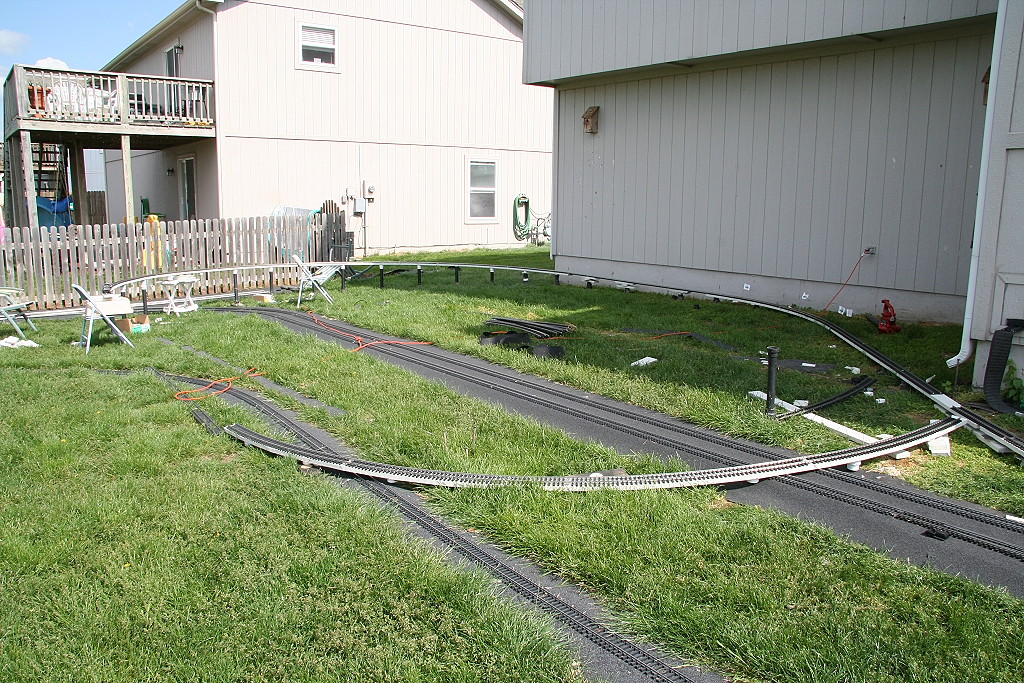
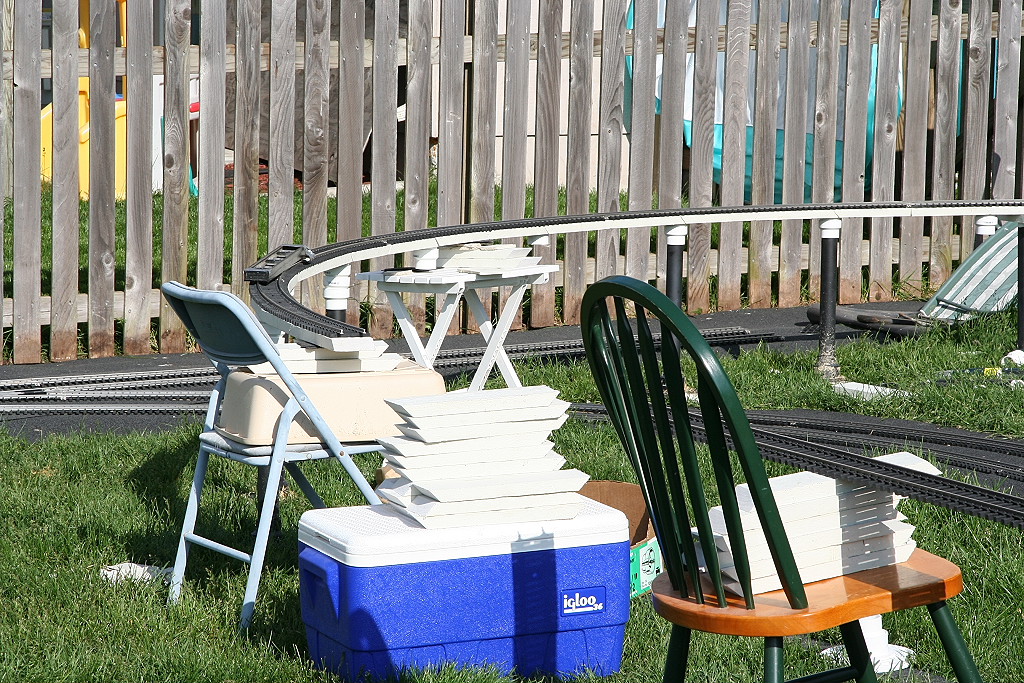
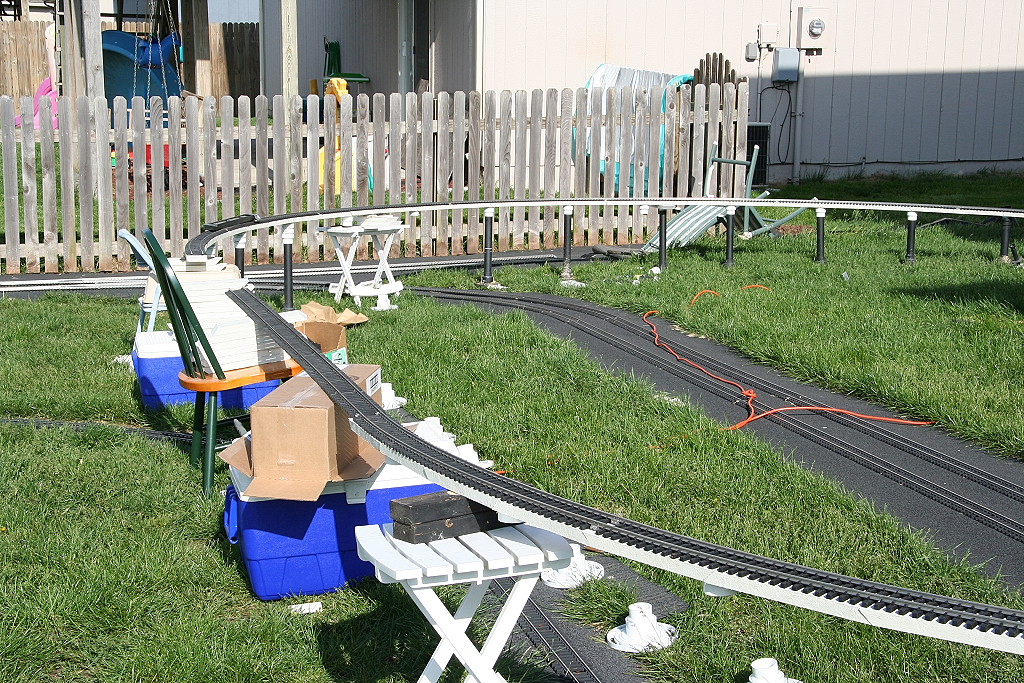
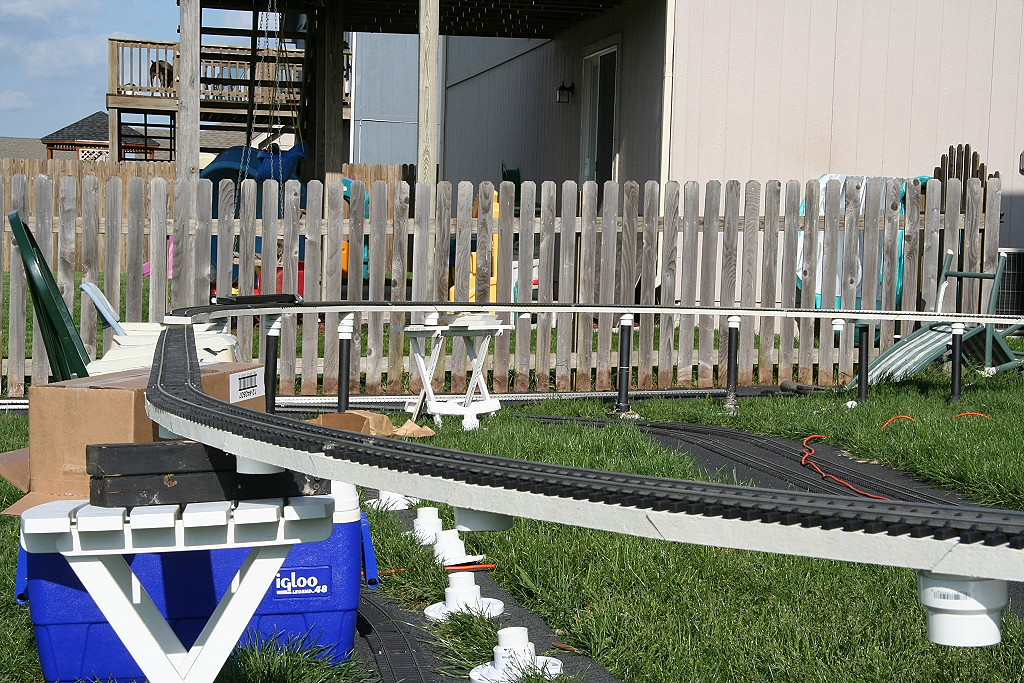
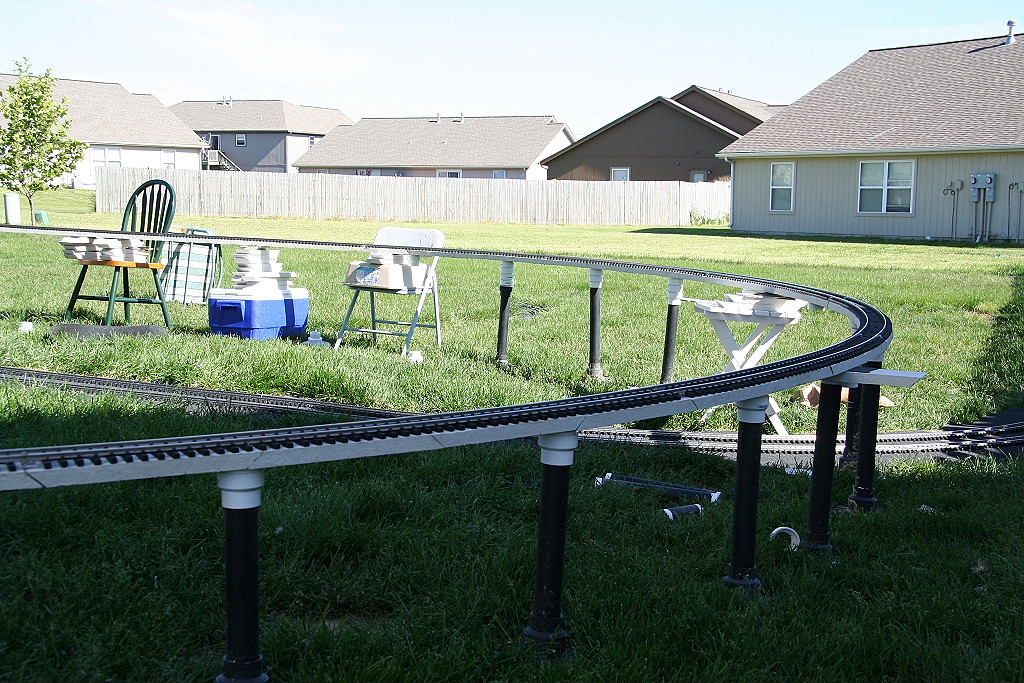
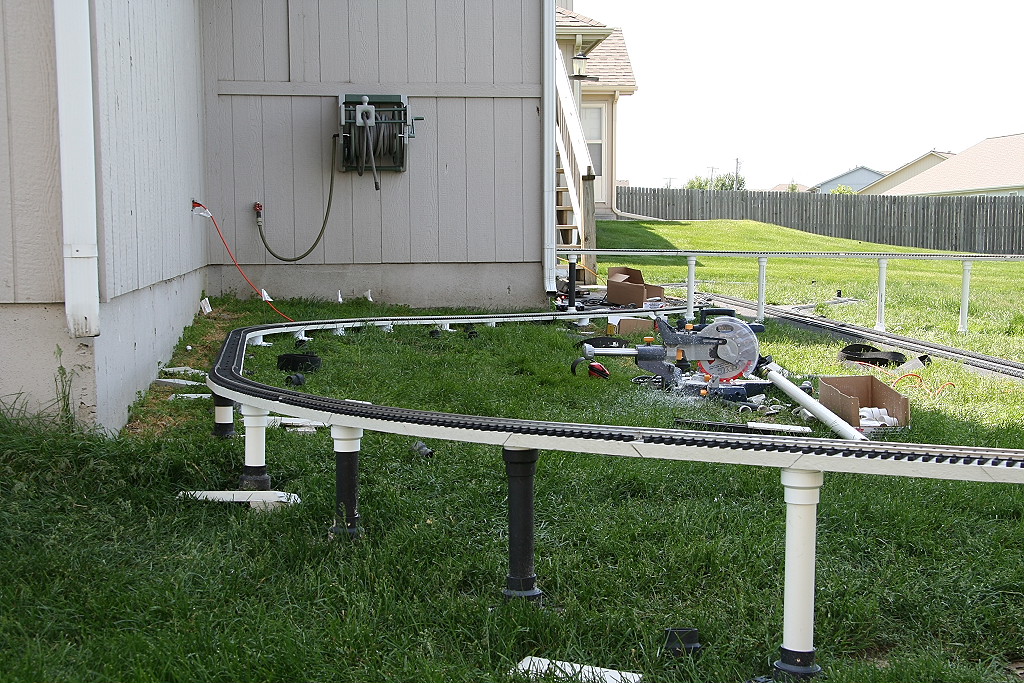
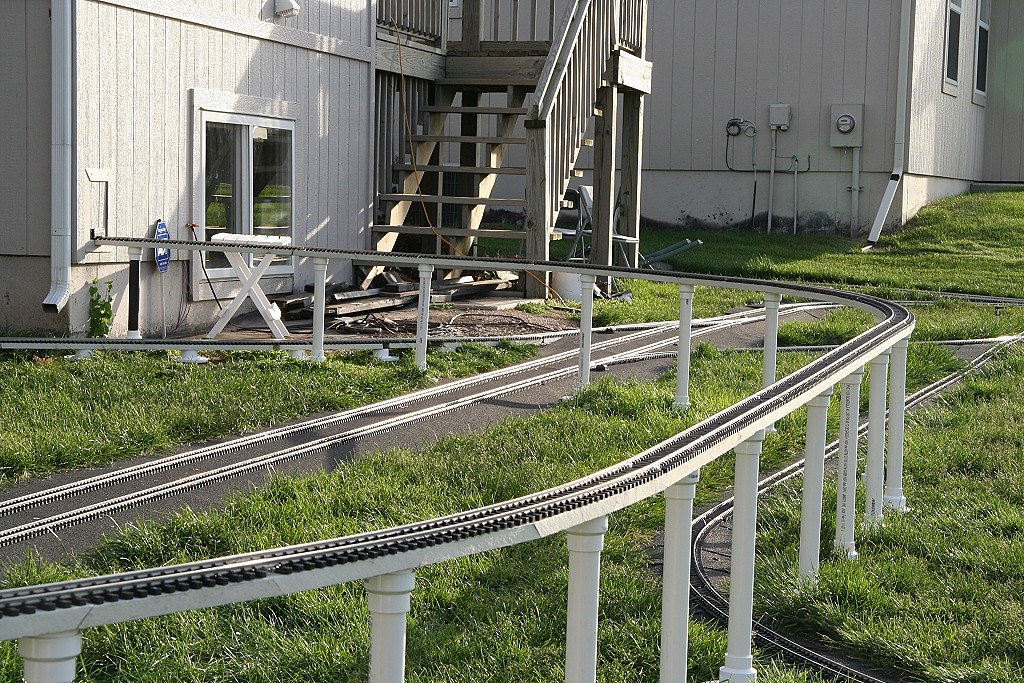
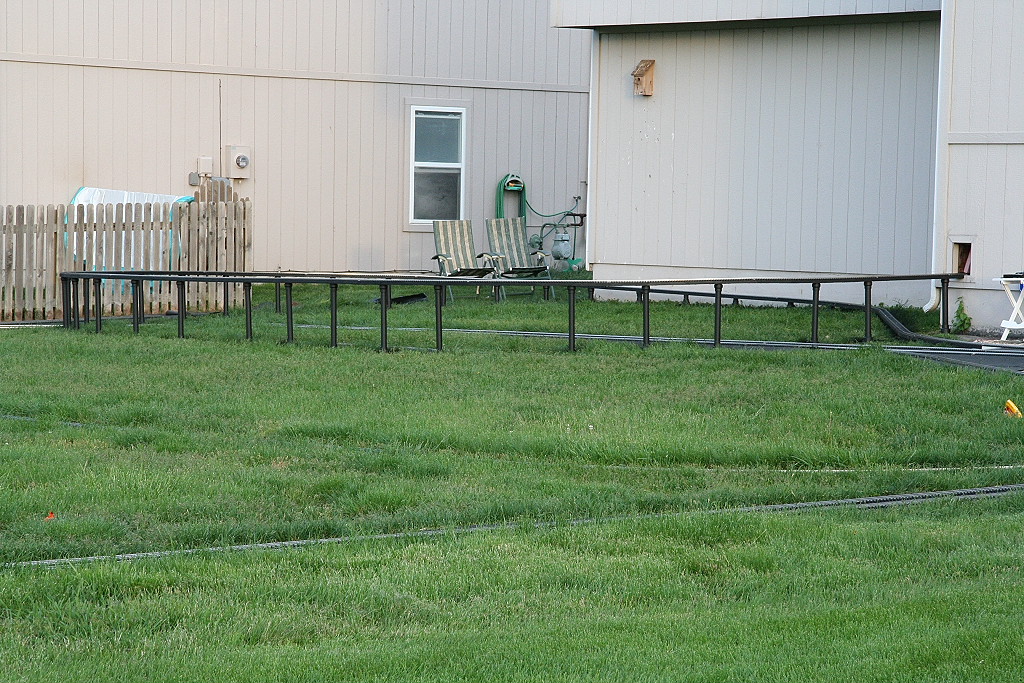
A good bulk of the work on the ramp line is done. (finishing
the pre-made corner sections)
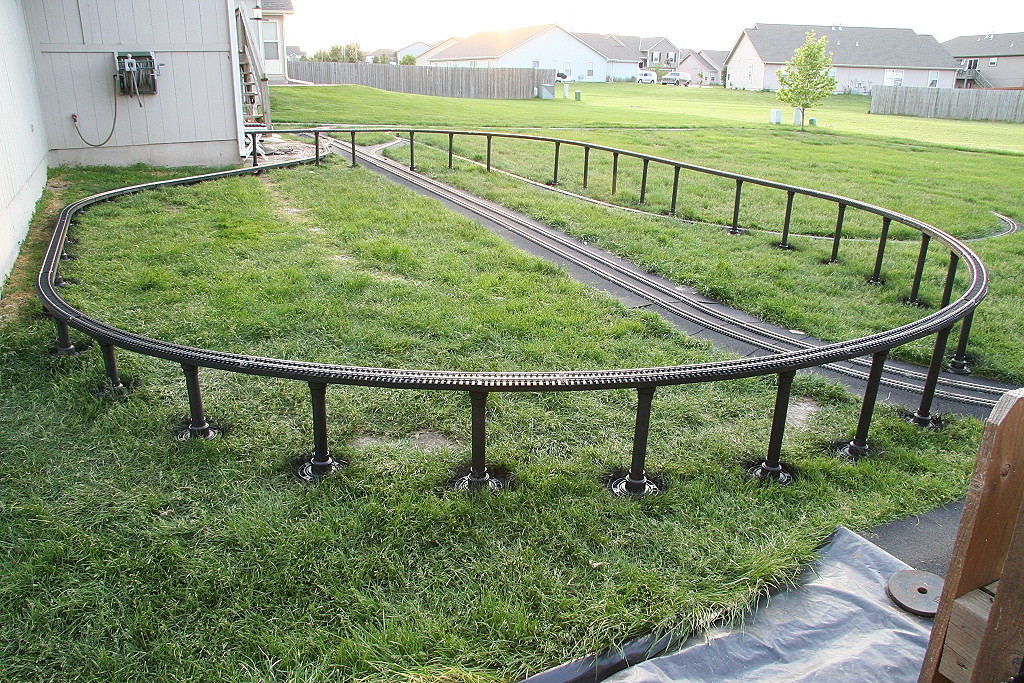
I'm going to think a little more about how it's laid out, but
it's going to look pretty close to this. For sure, it doesn't have the
nice, neat, symmetrical look the original had.
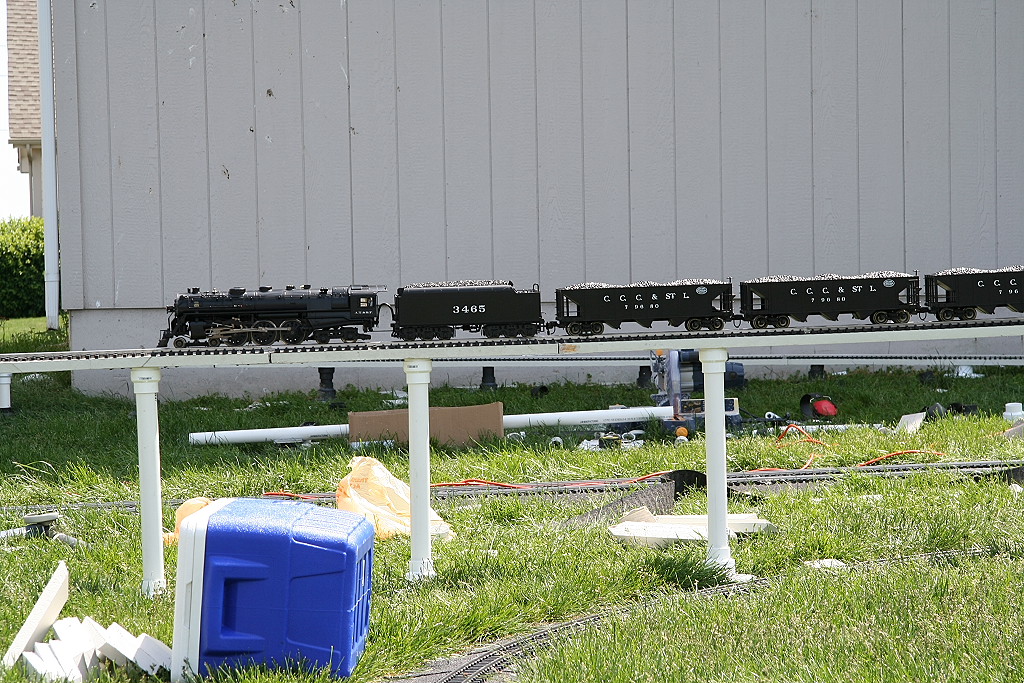
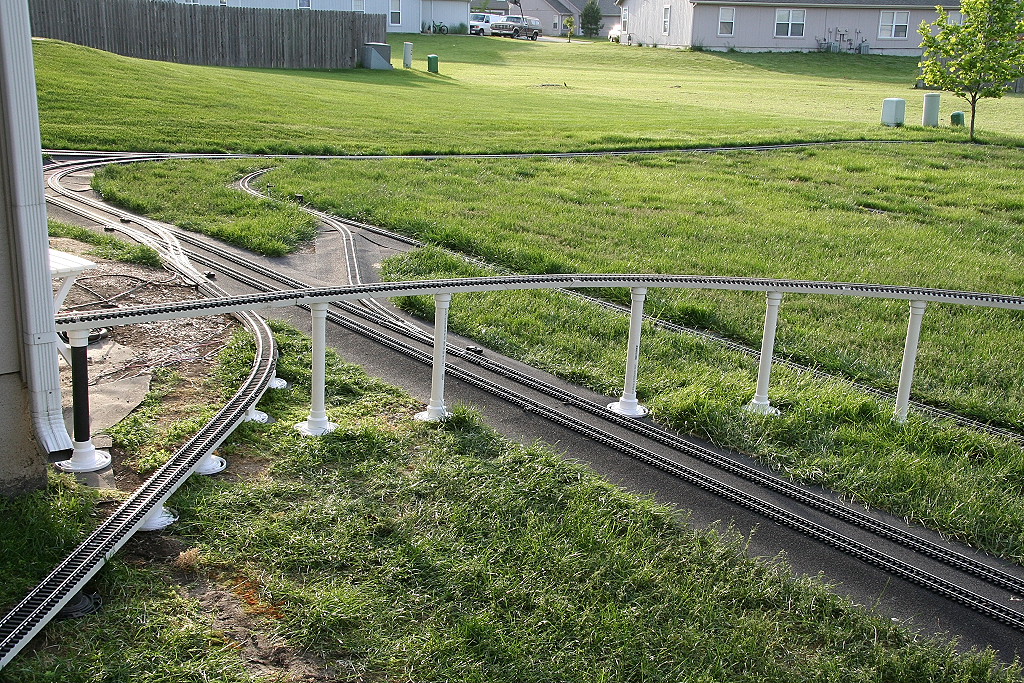
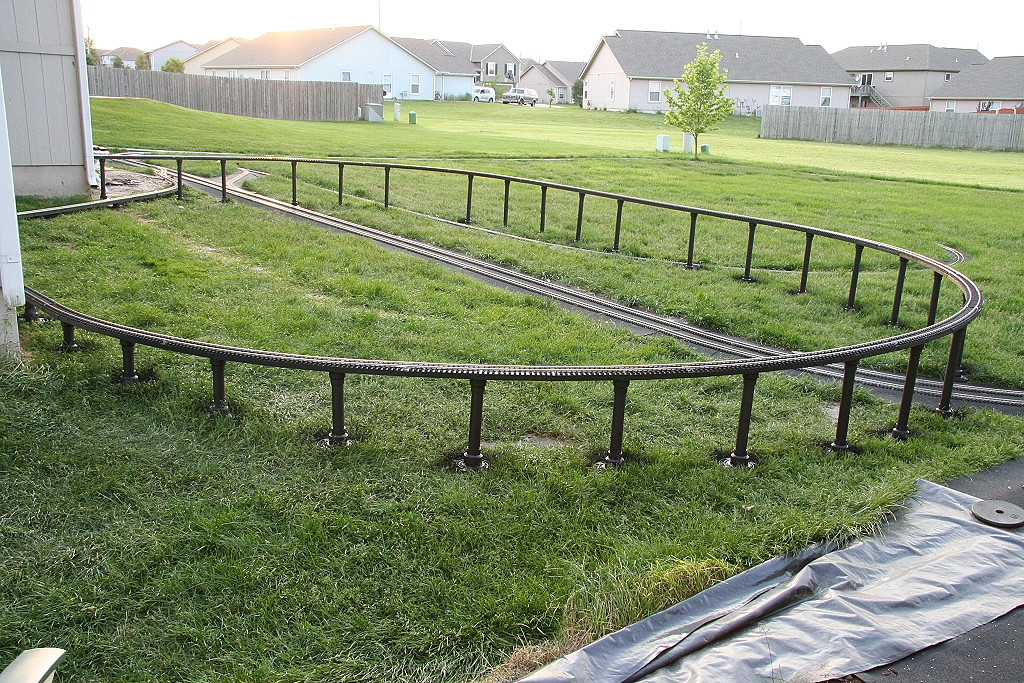
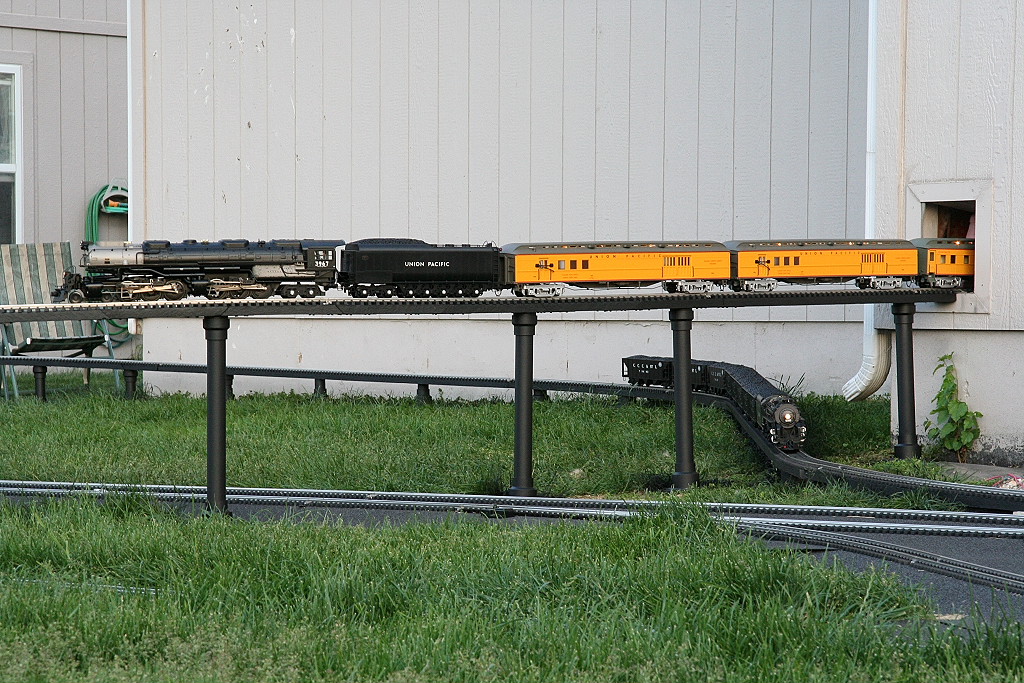
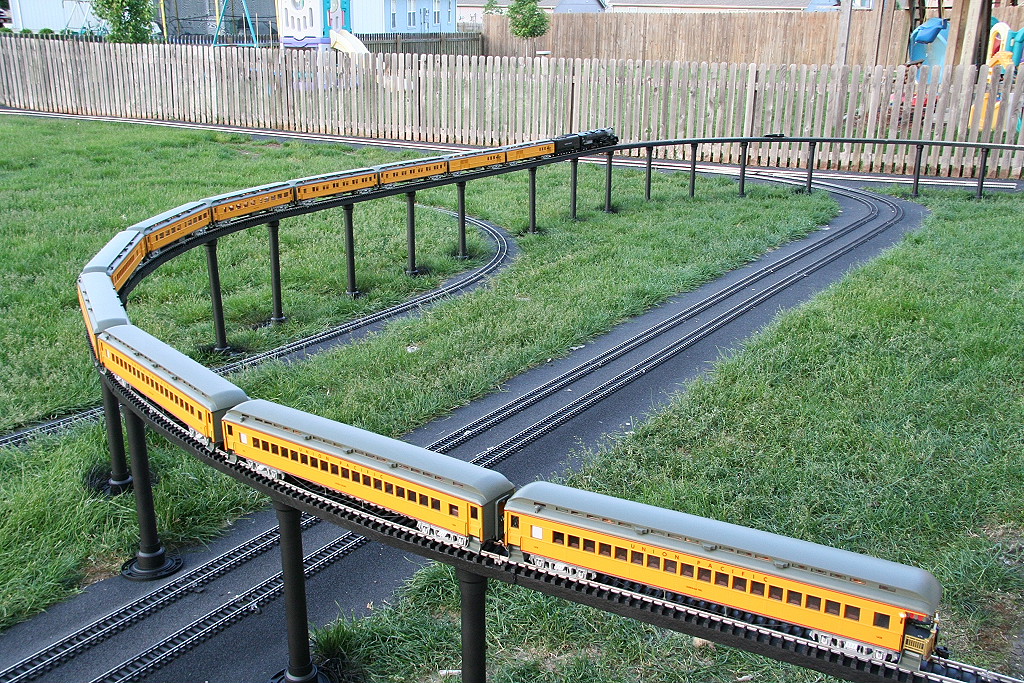
In this configuration, the new ramp would be approximately 85
feet long for an average grade of 1.72%.
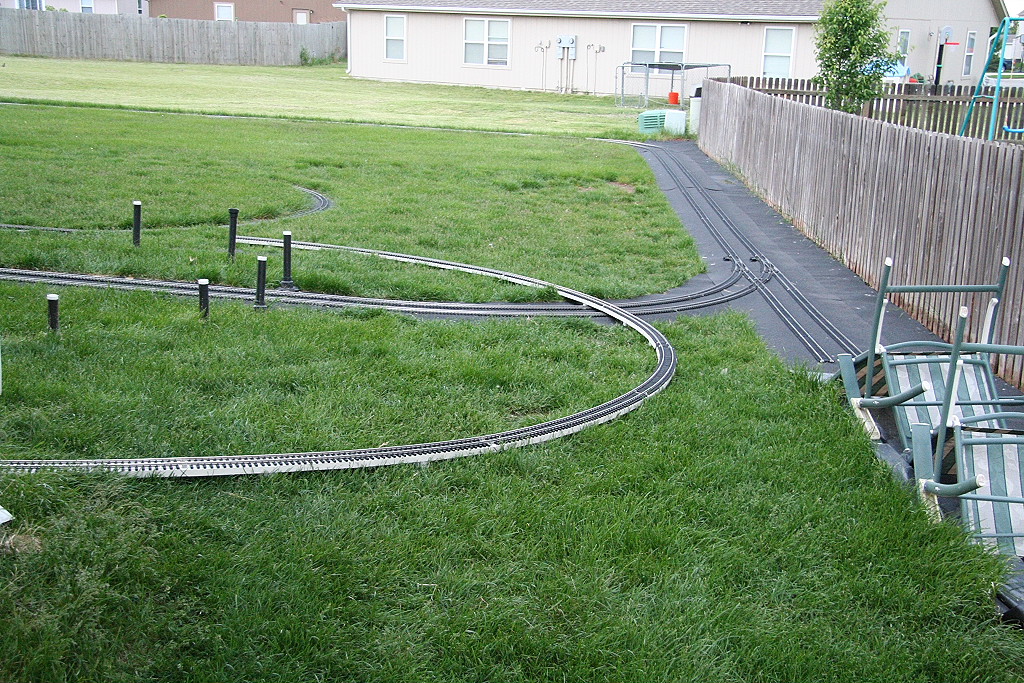
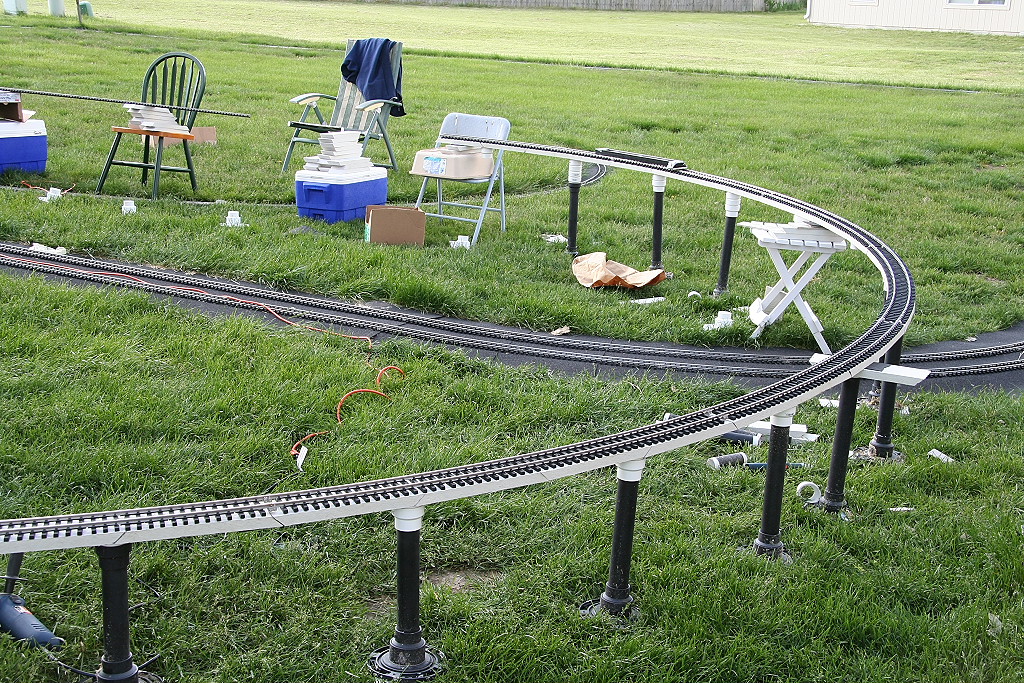
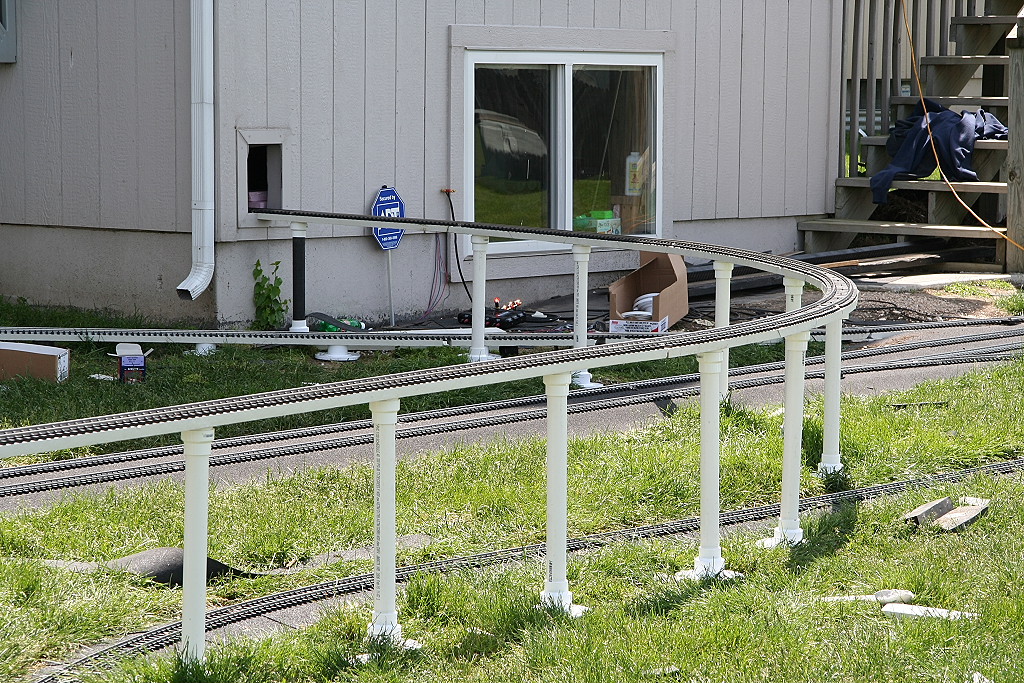
05/16/2006
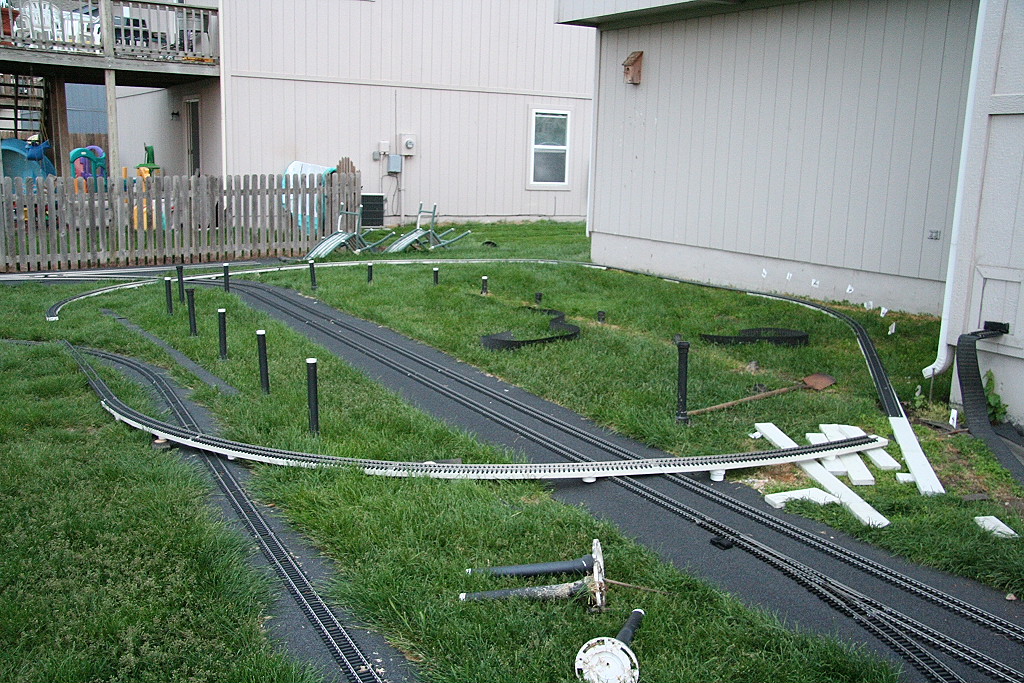
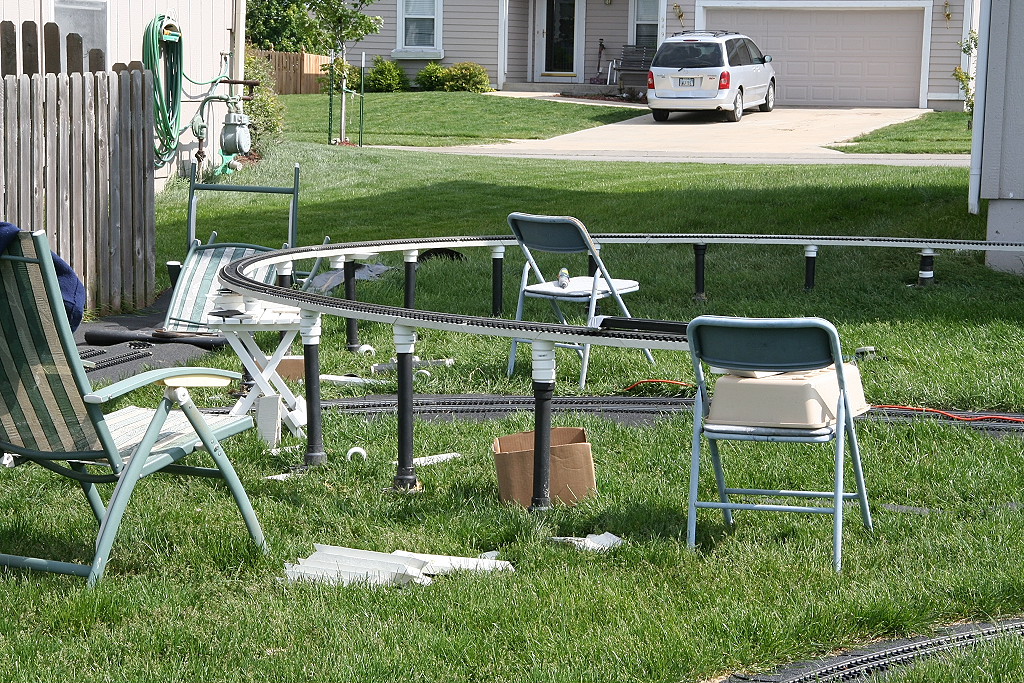
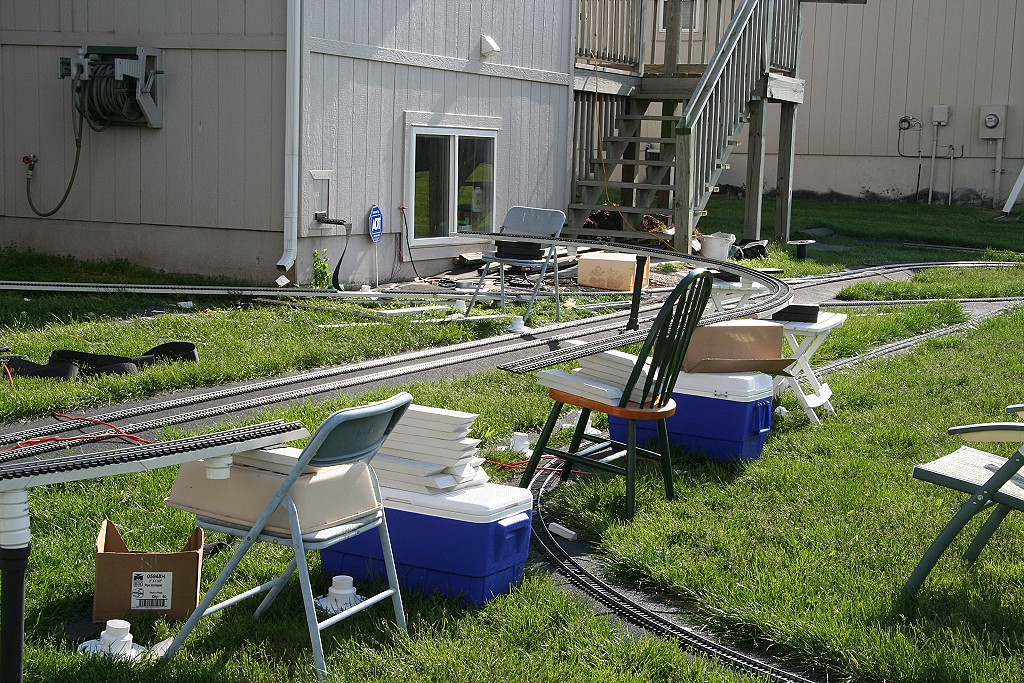
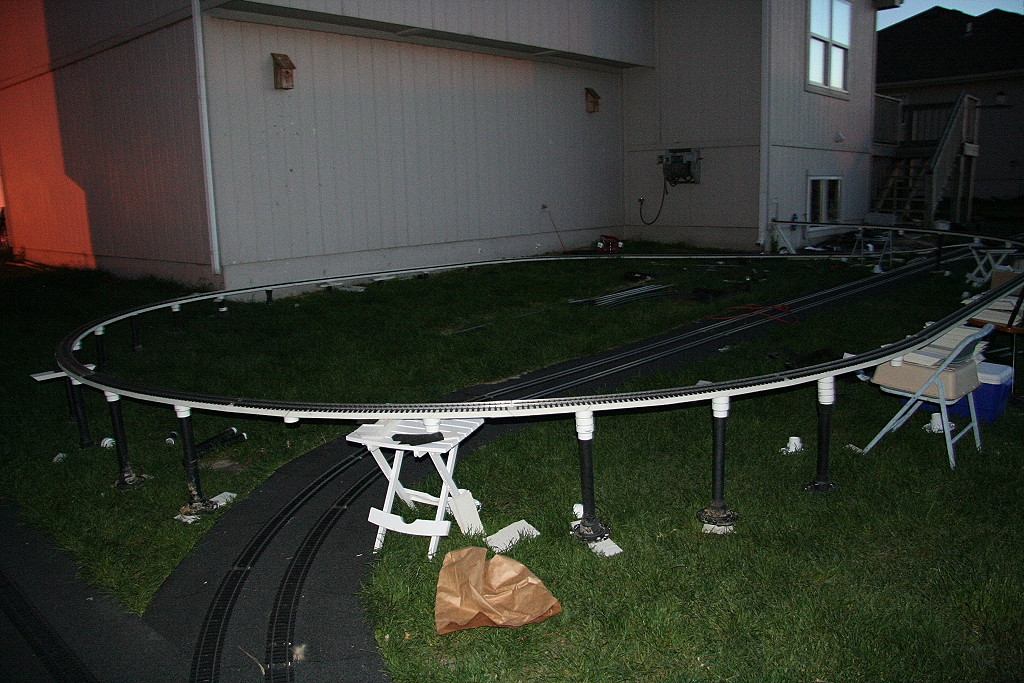
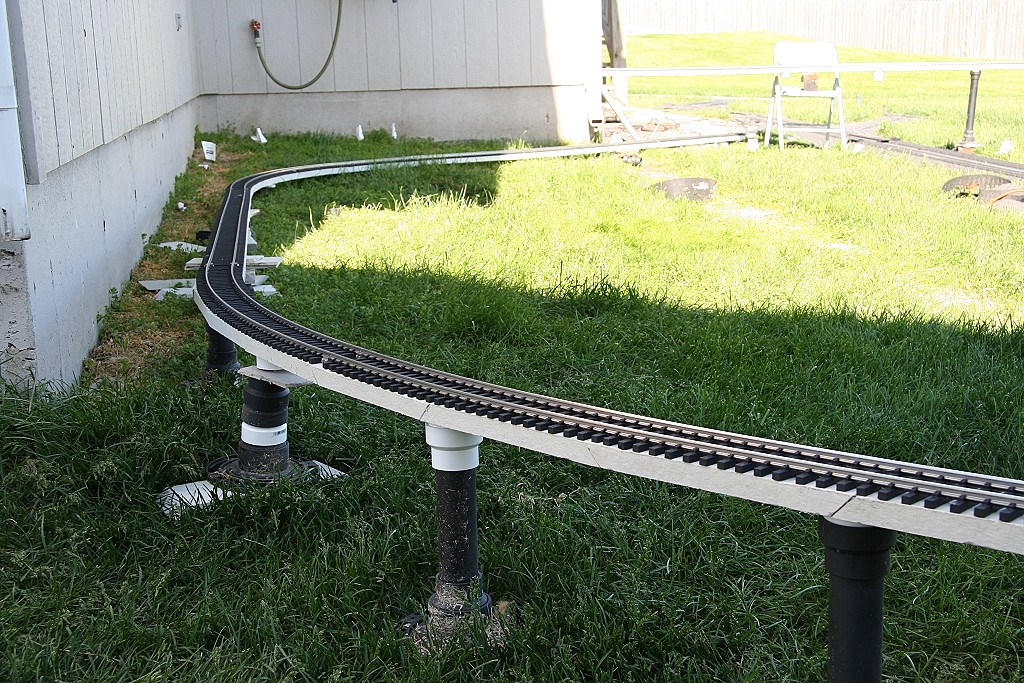
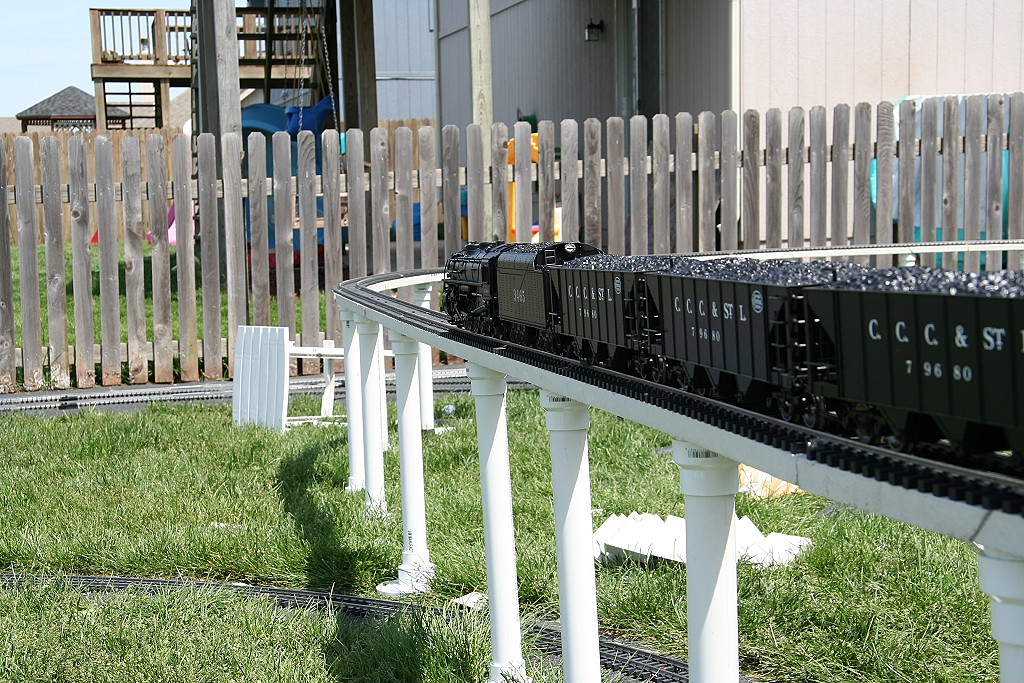
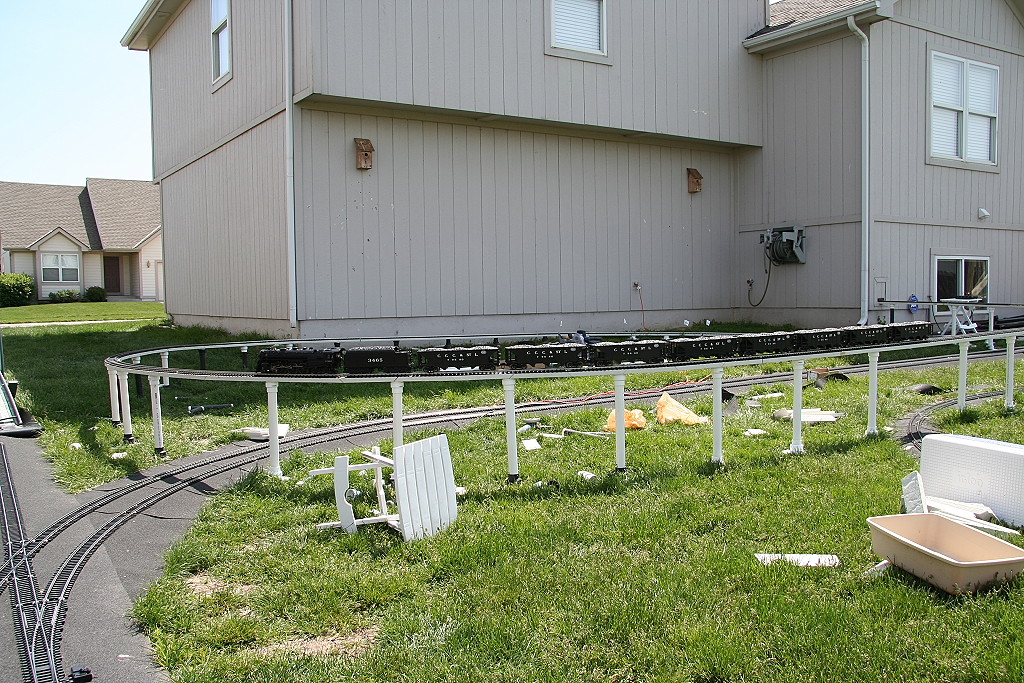
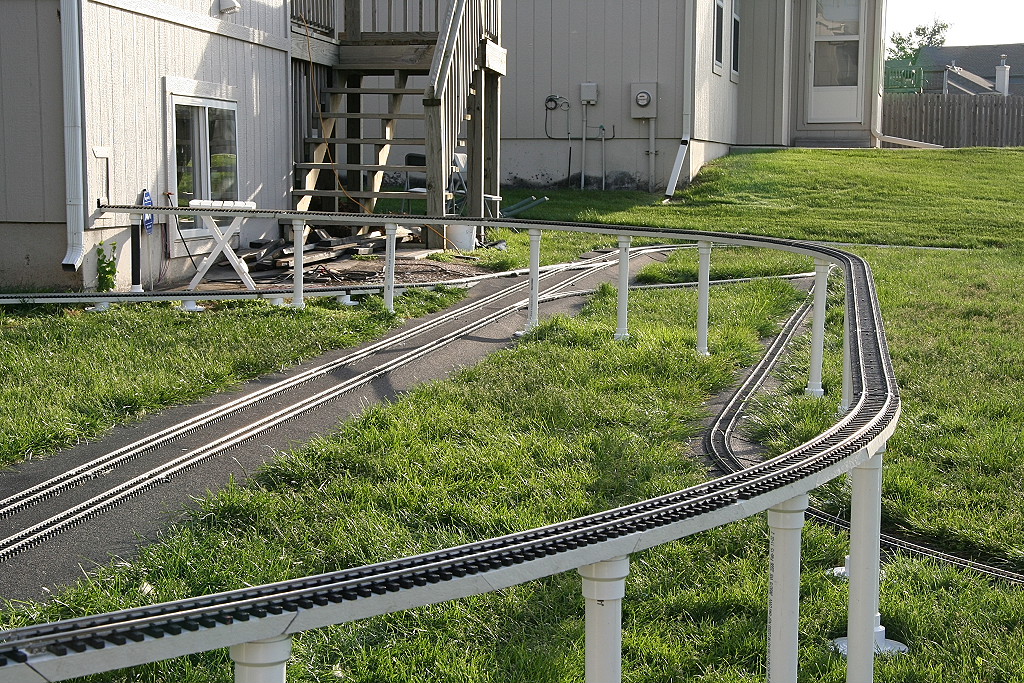
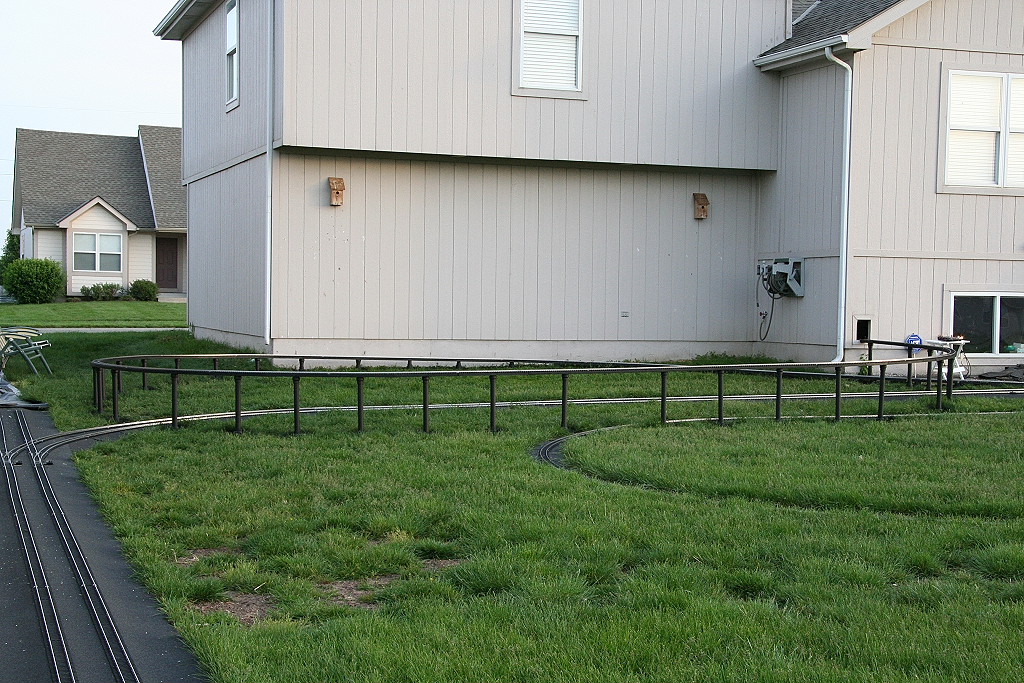
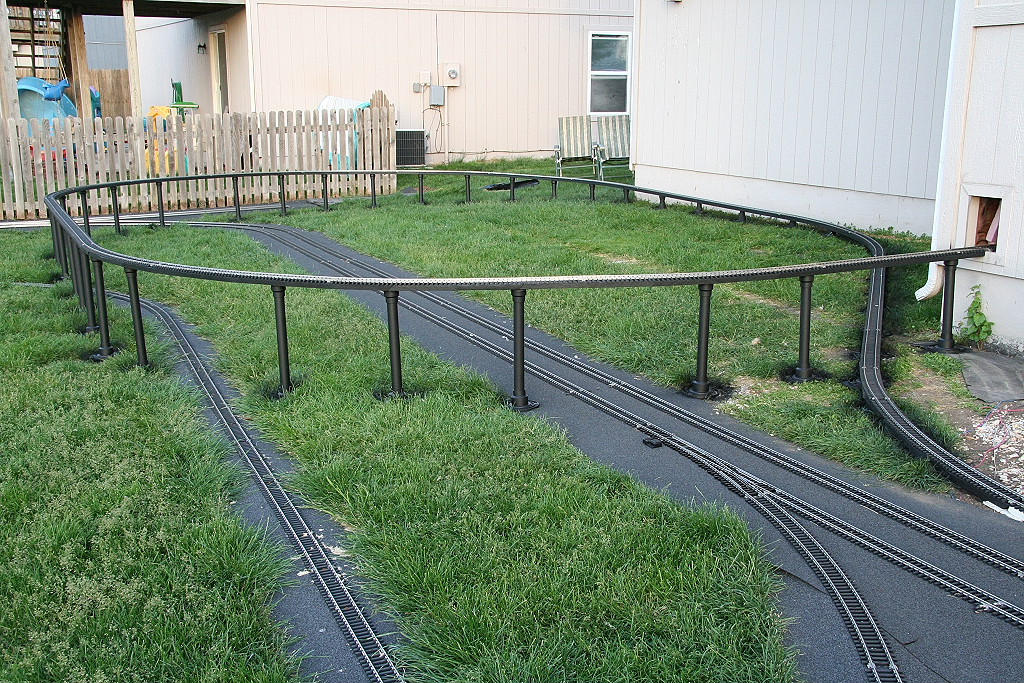
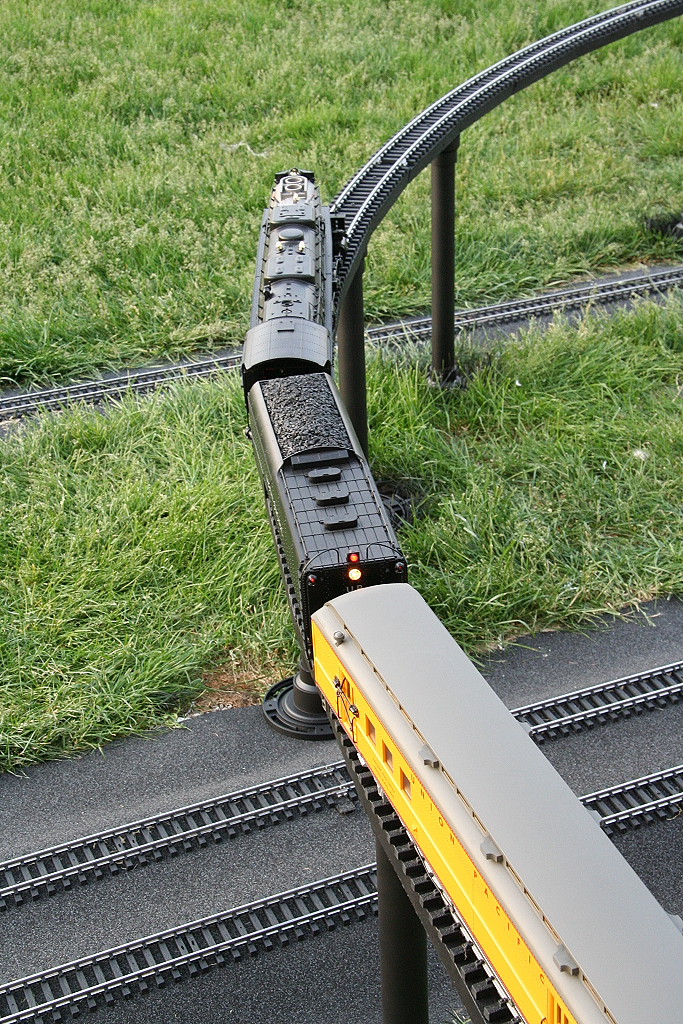
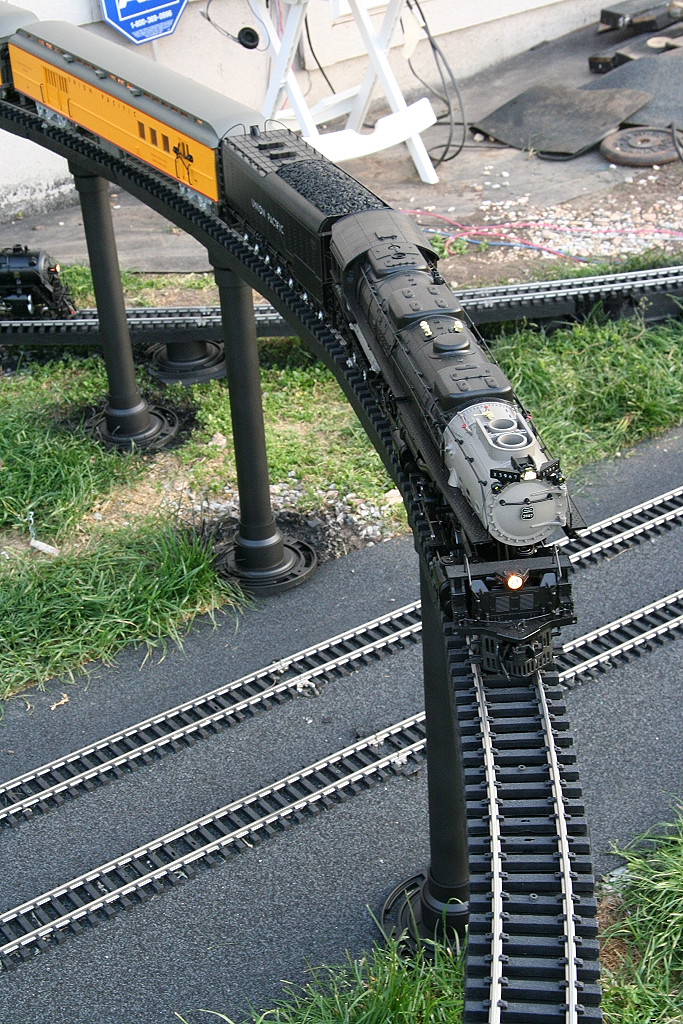
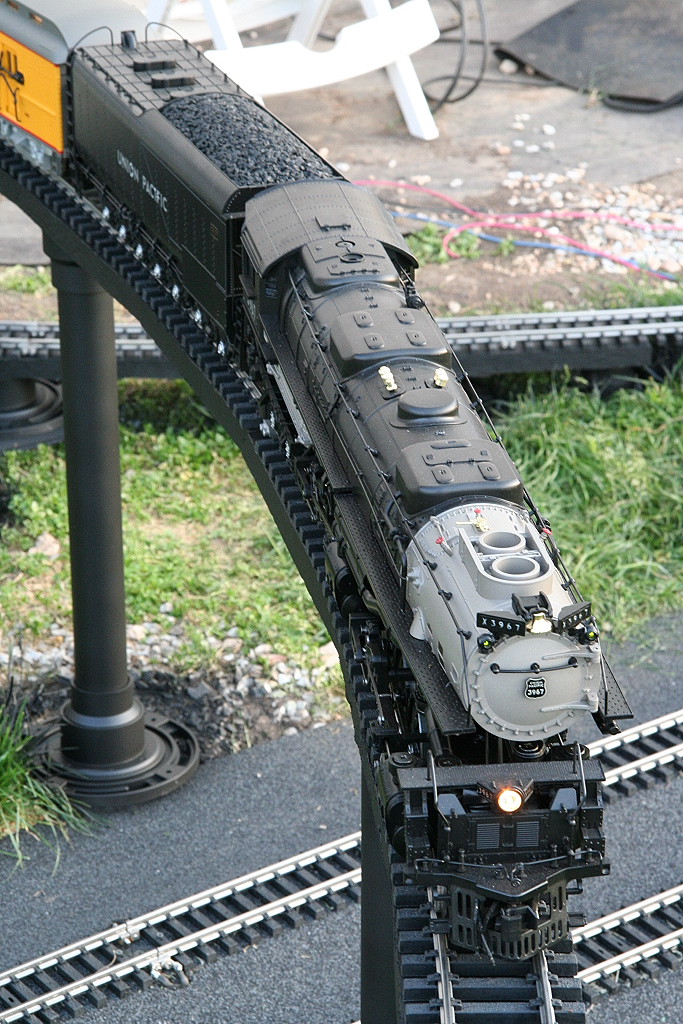
It's very close now. All the boards are in place and the
track has been completed.
It's looking much better now that it's up and some posts are
in place, albeit temporary.
Part 1:
Part 2:
Part 3:
Part 4: (In better light the next morning)
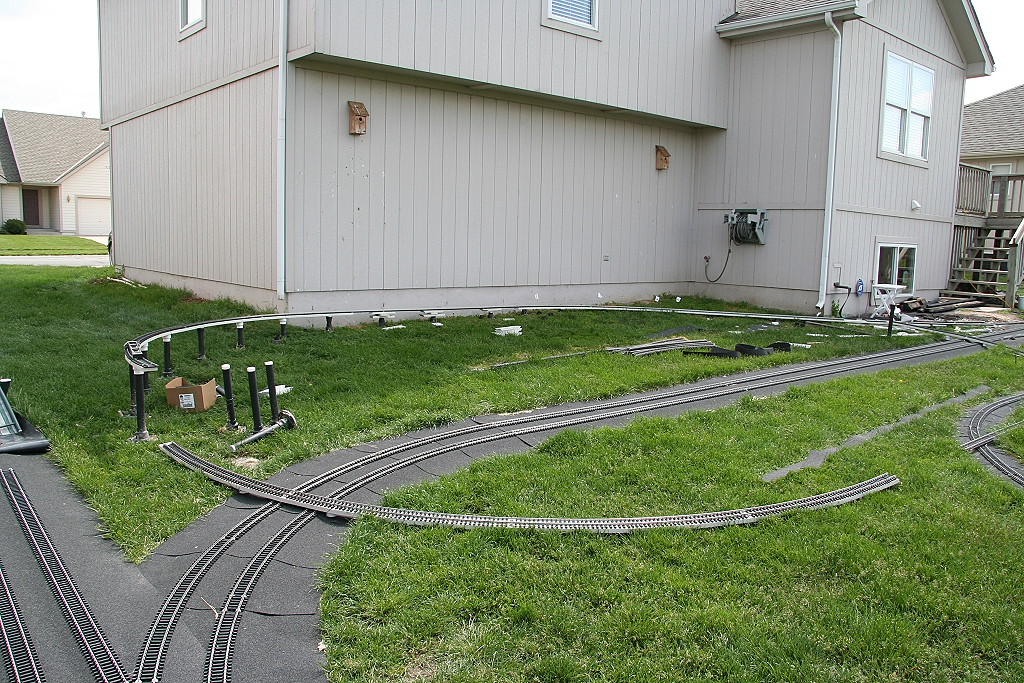
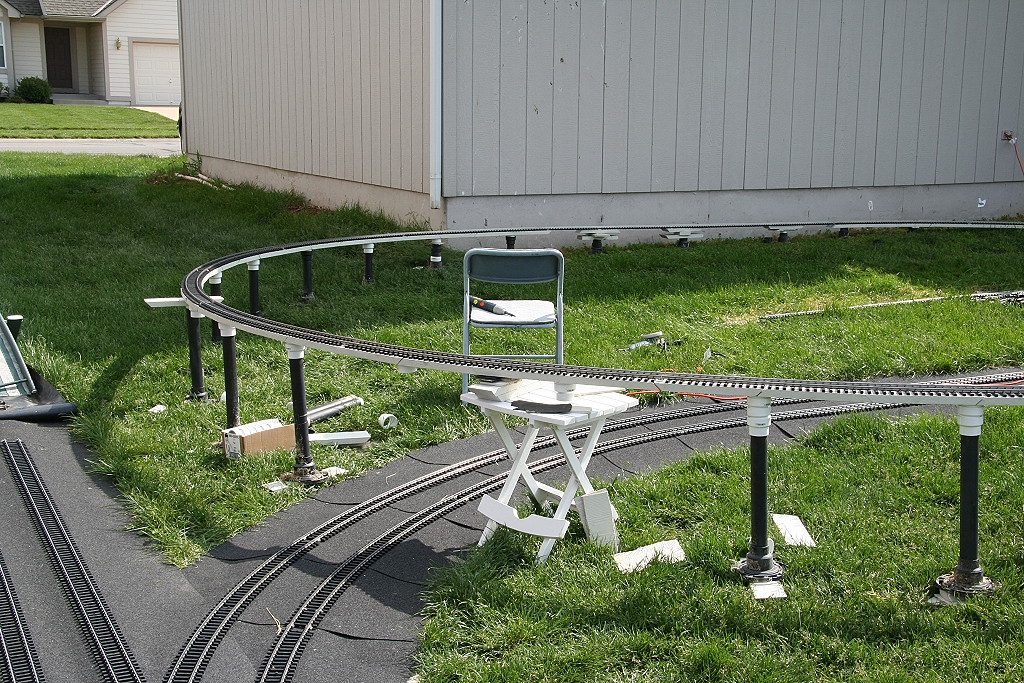
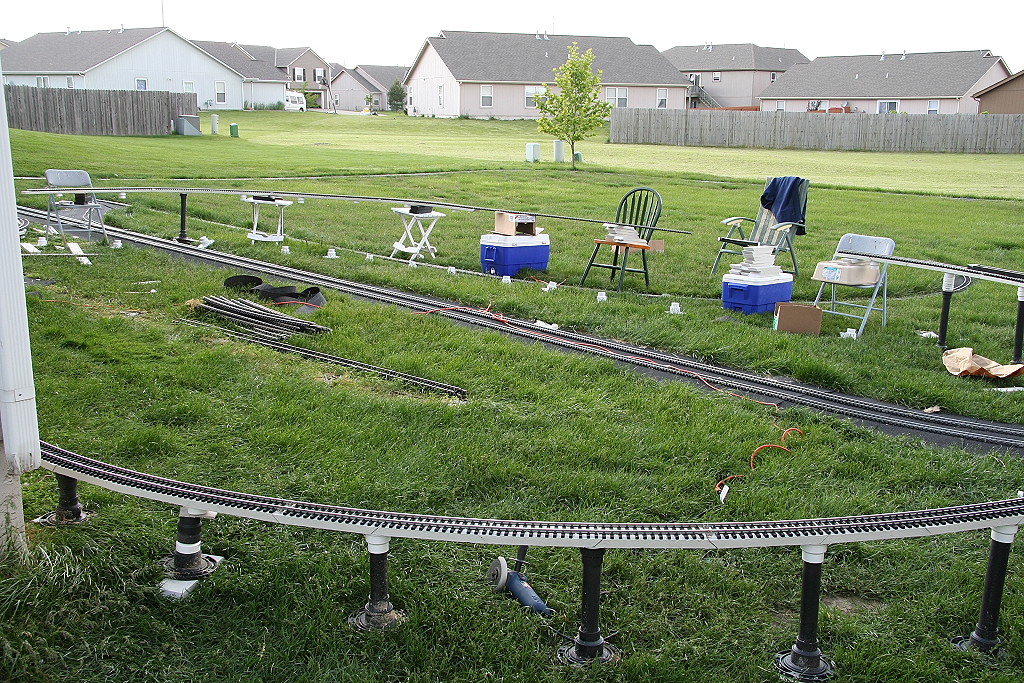
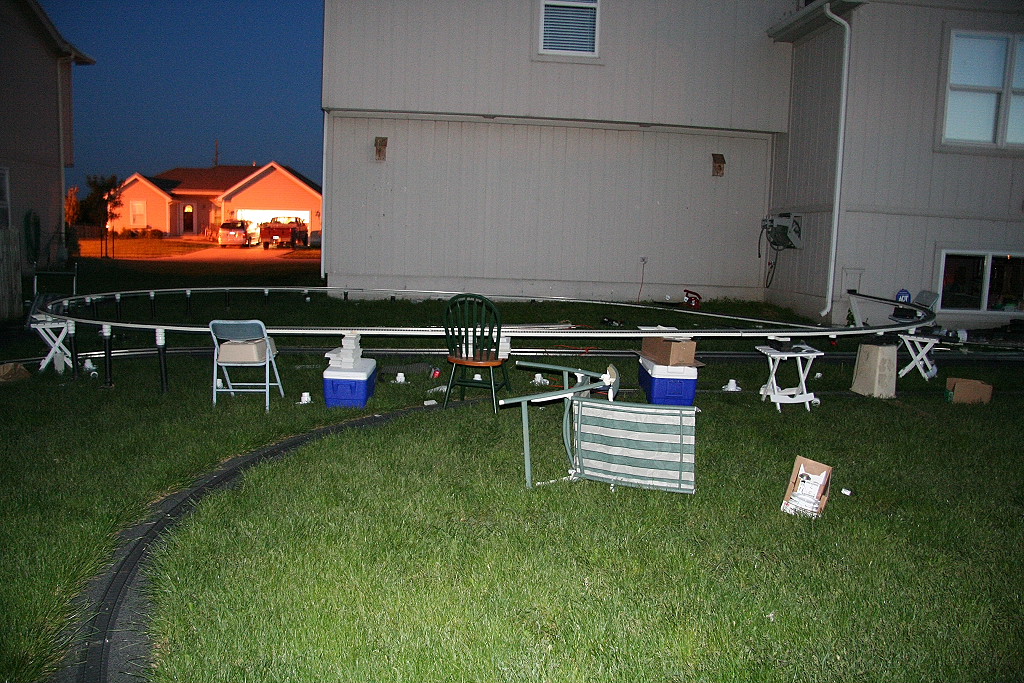
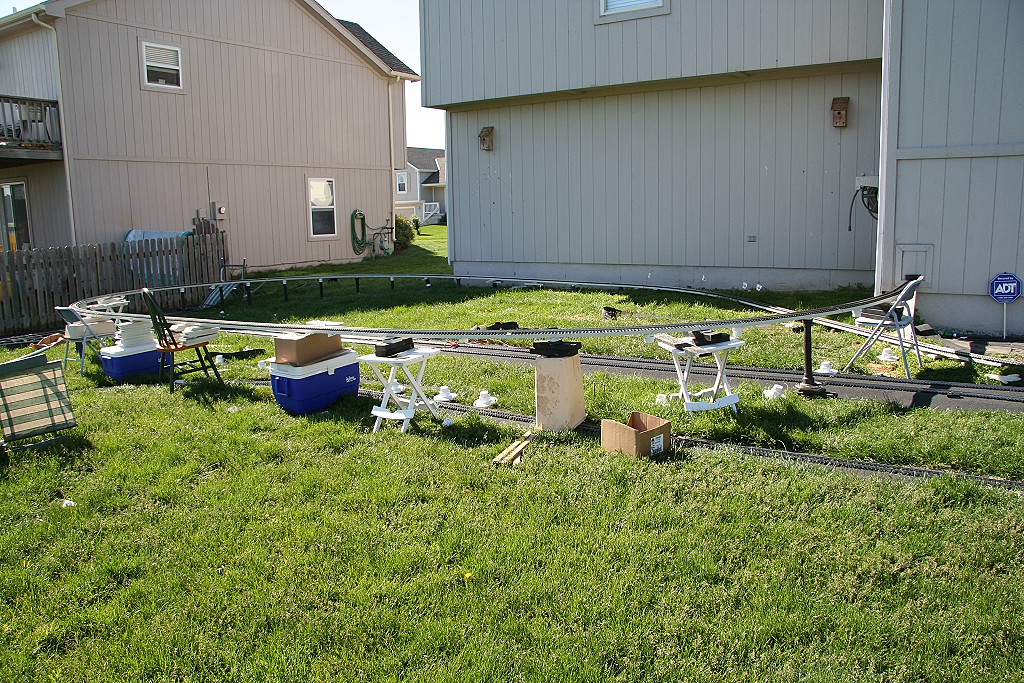
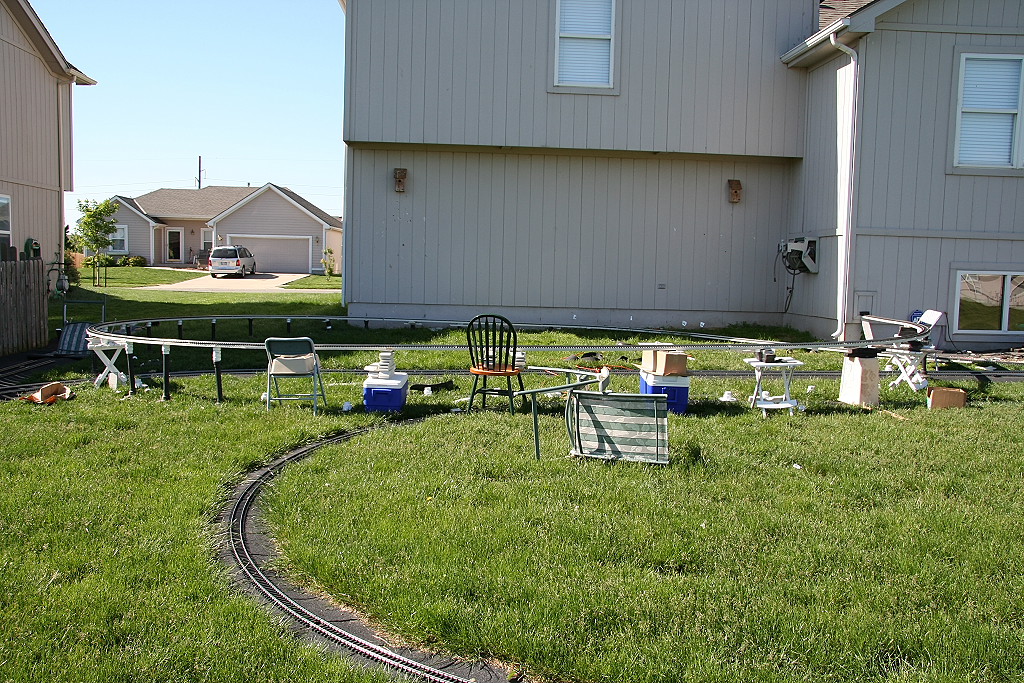
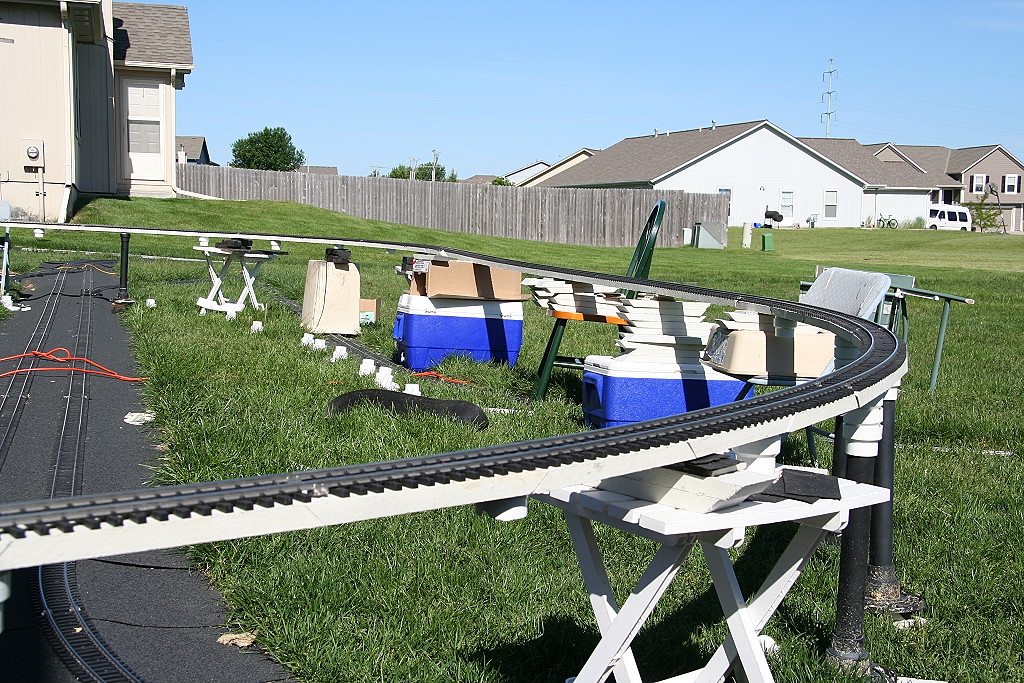
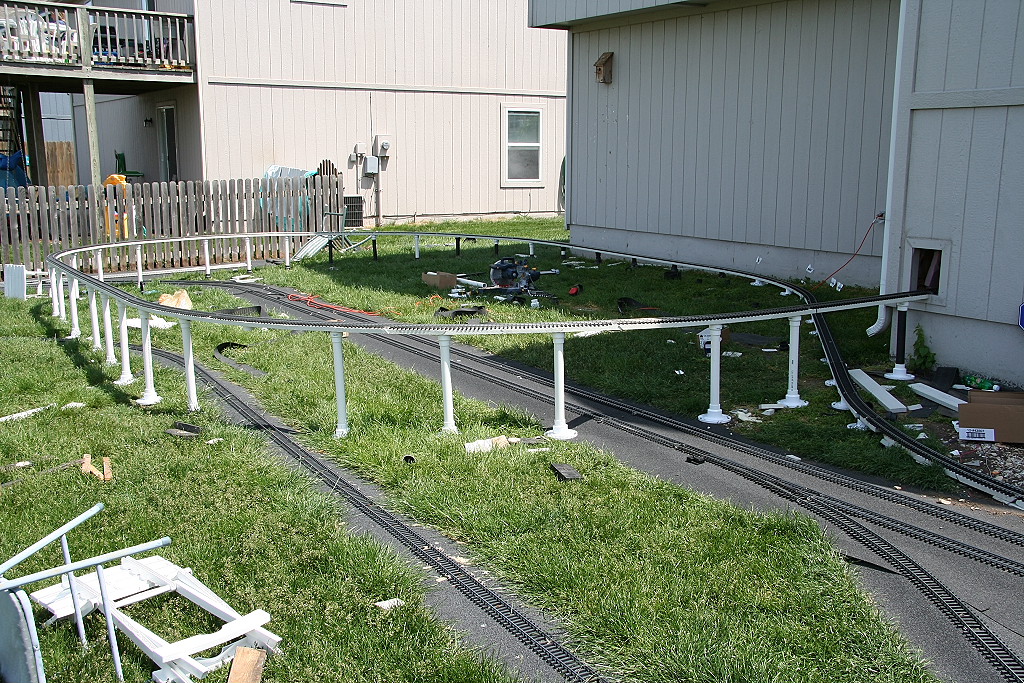
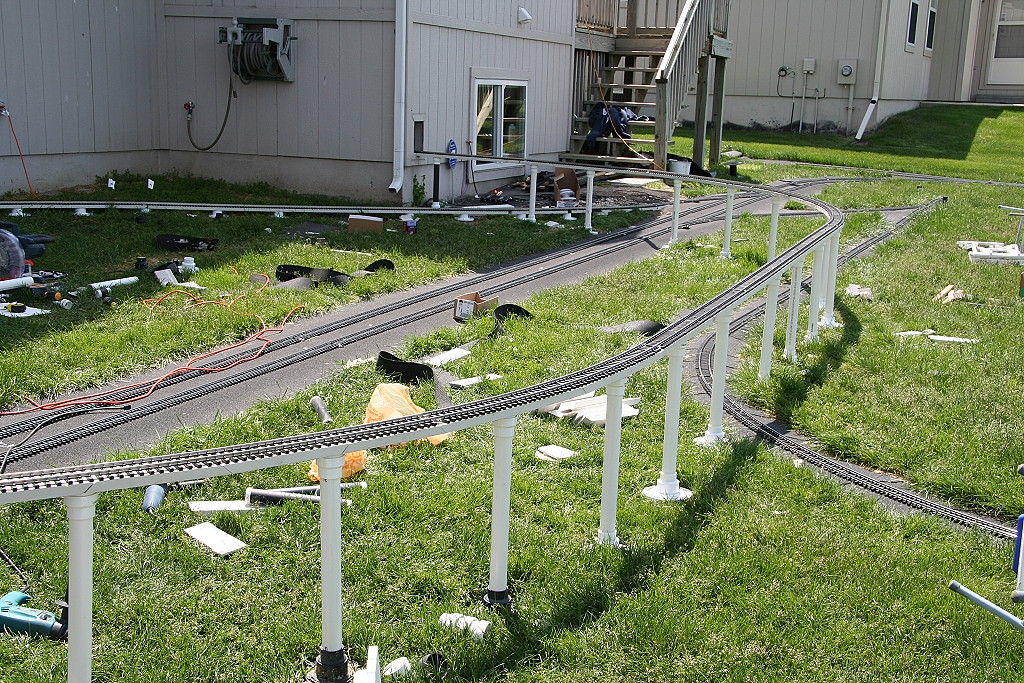
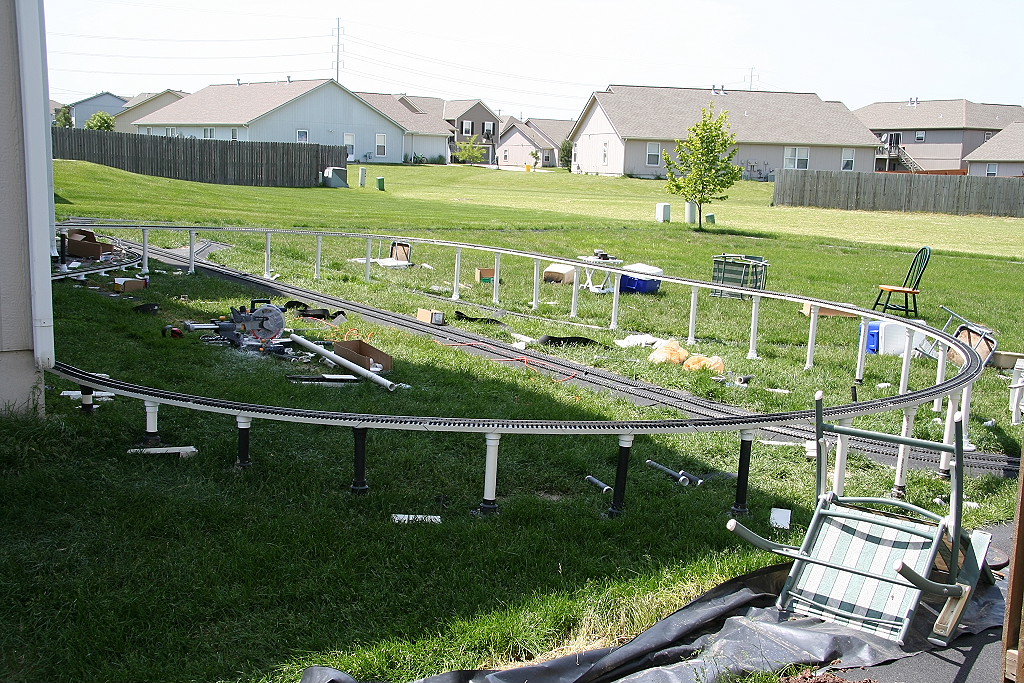
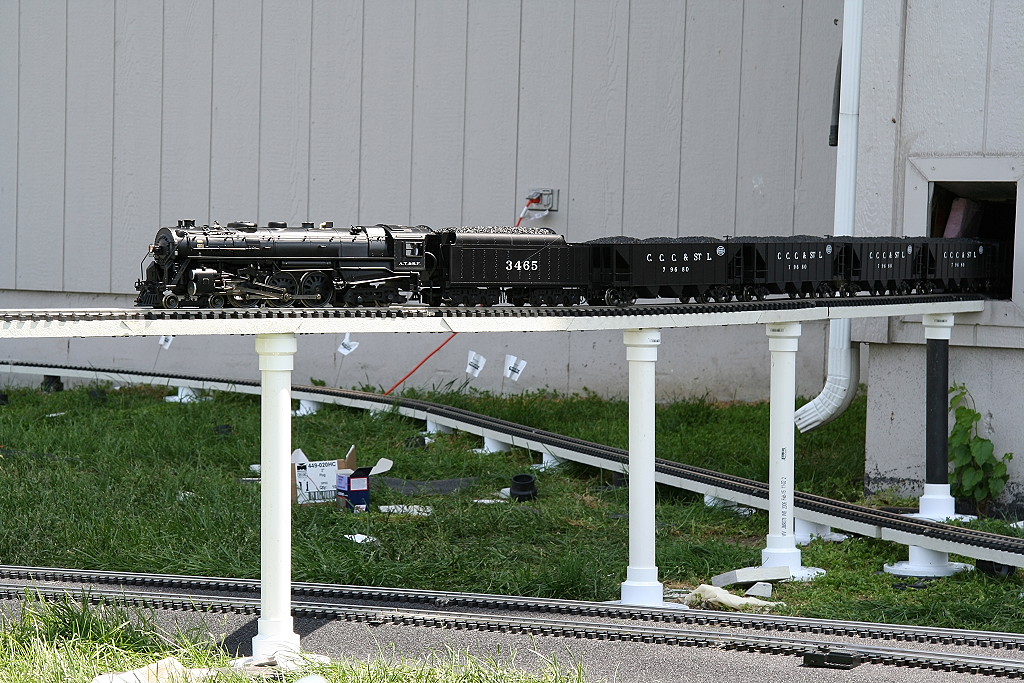
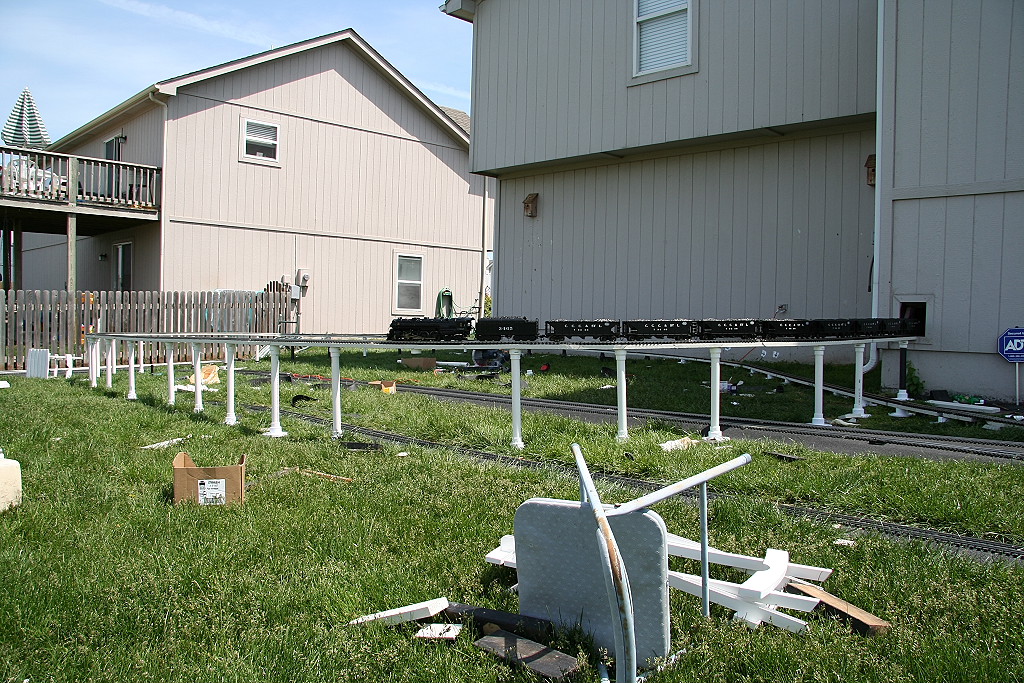
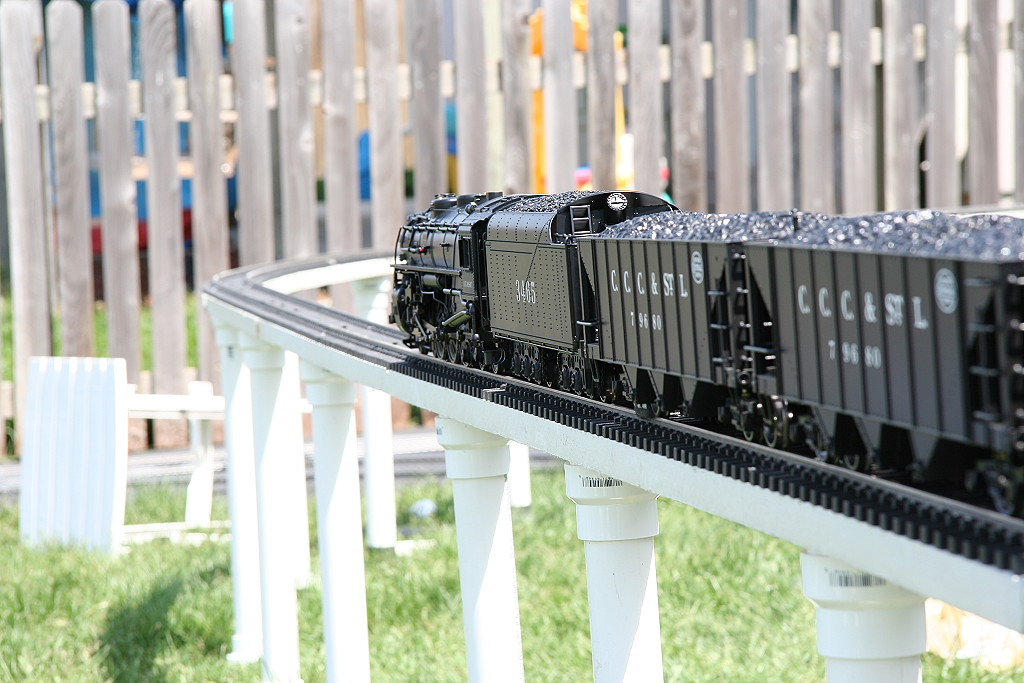
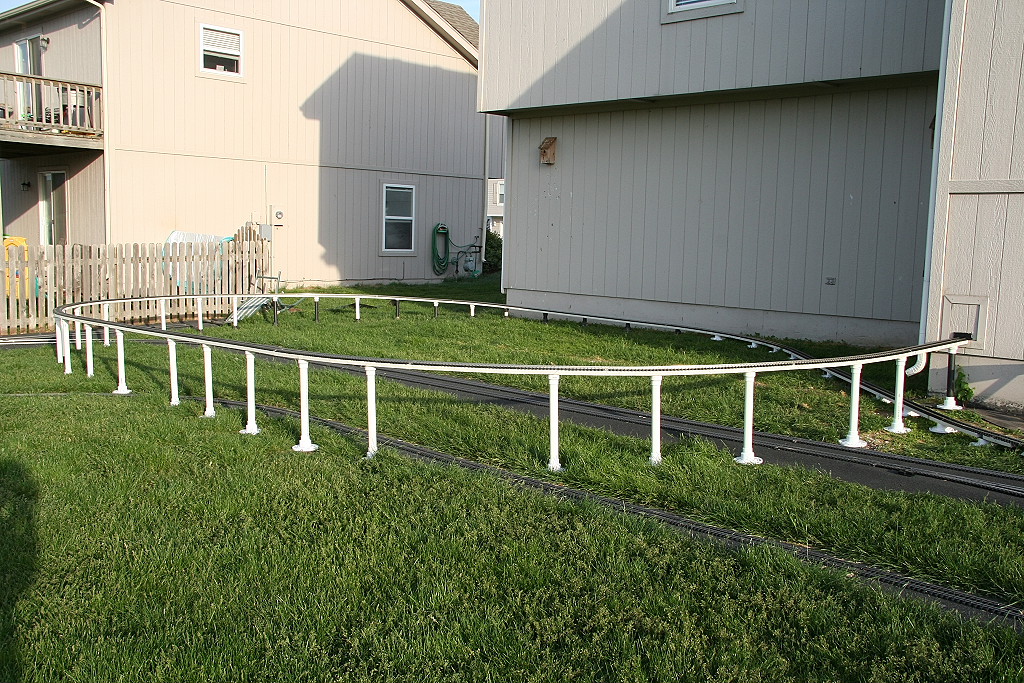
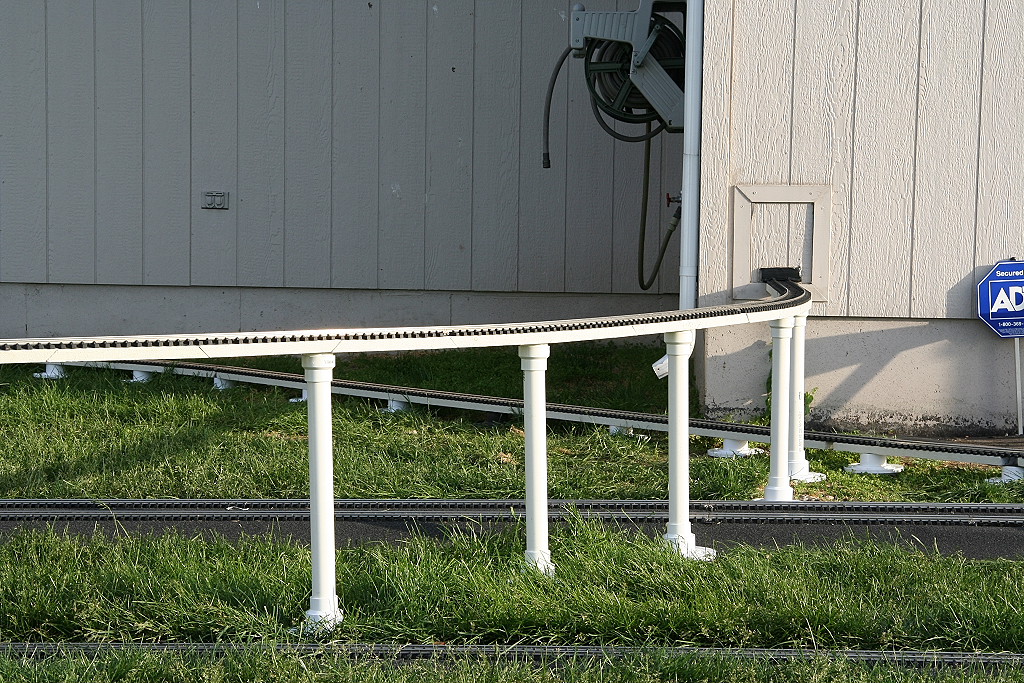
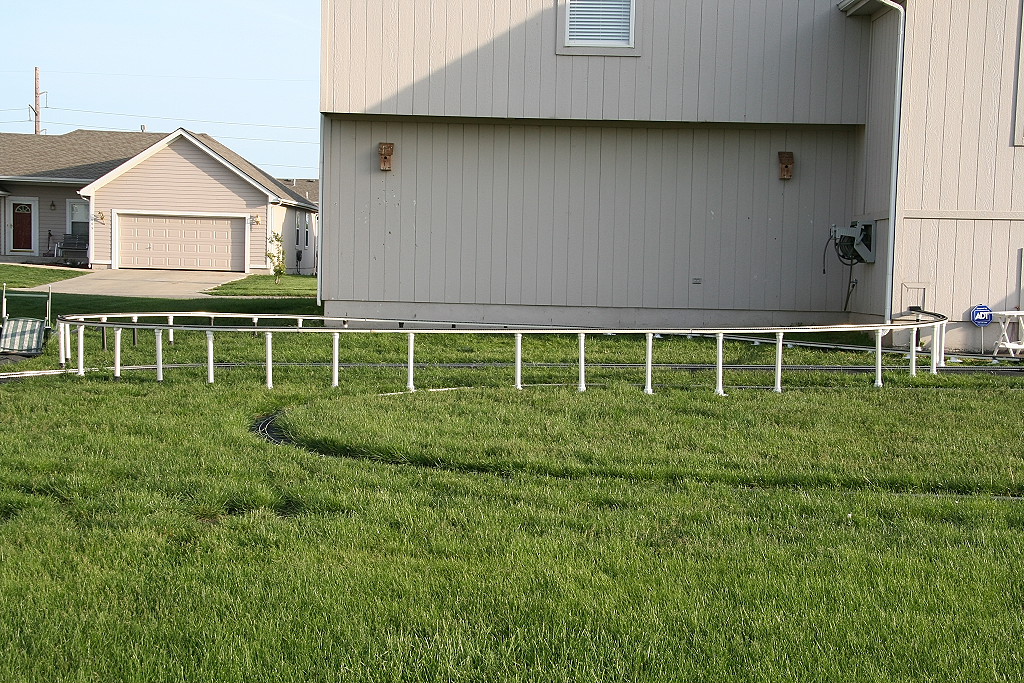
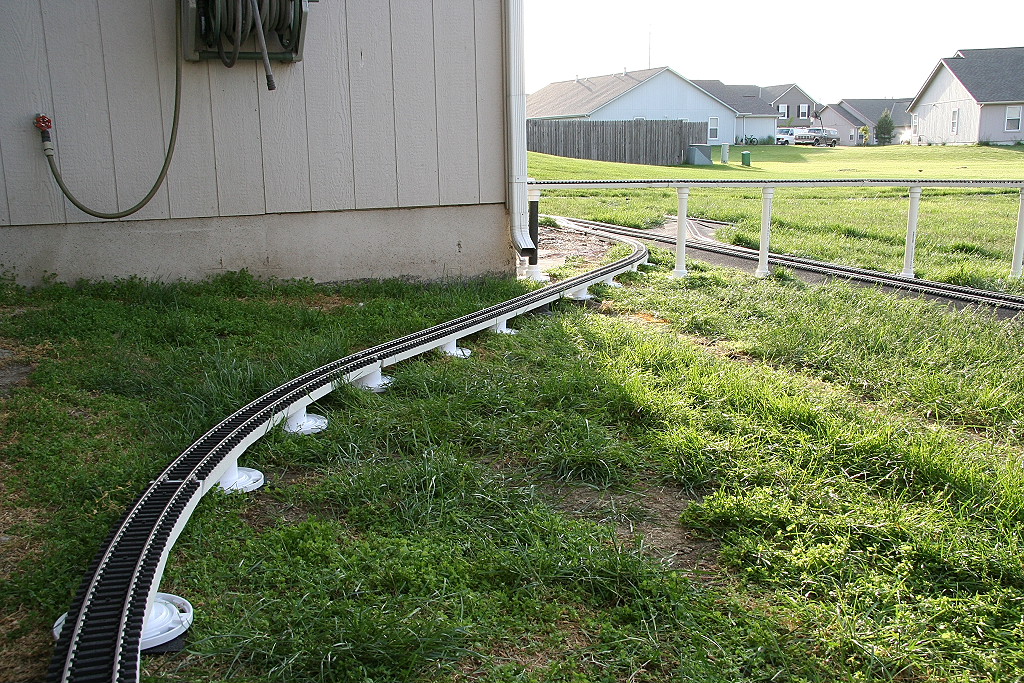
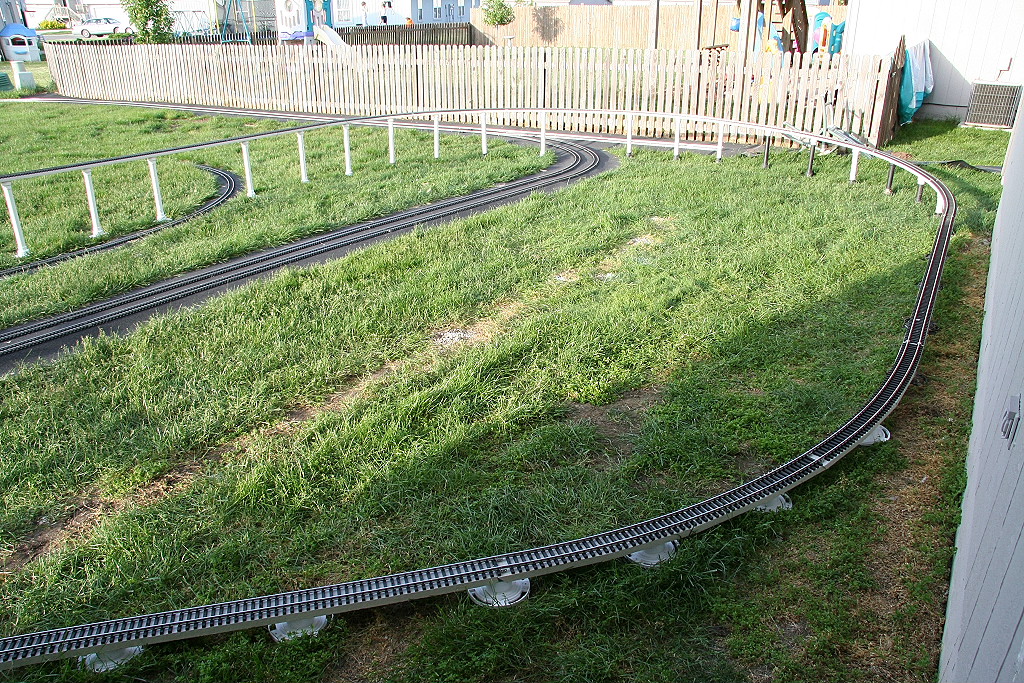
05/17/2006
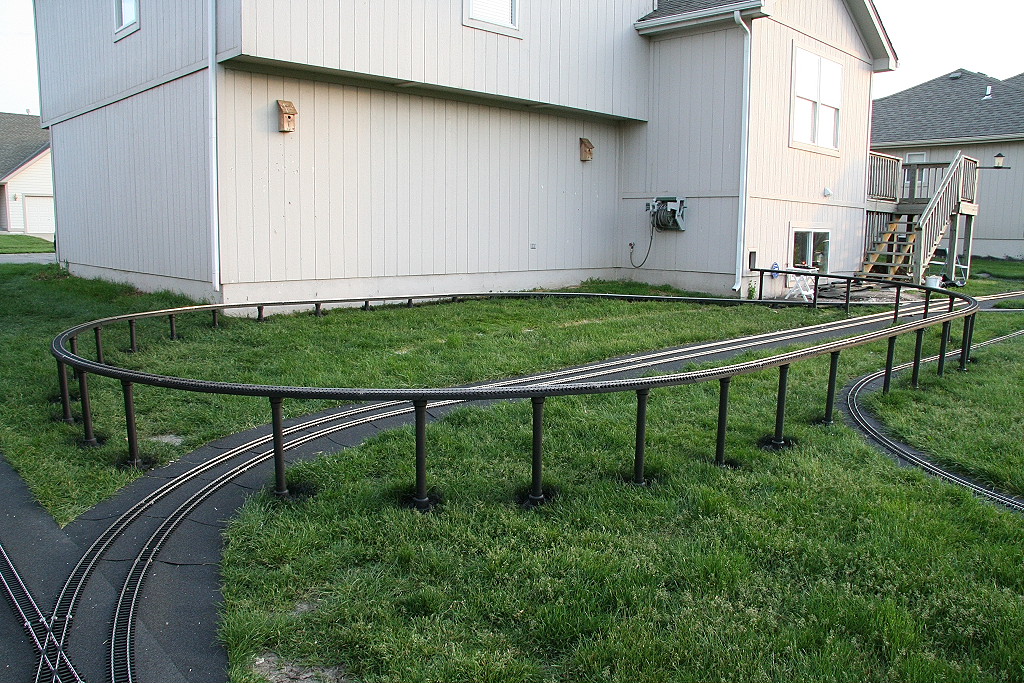
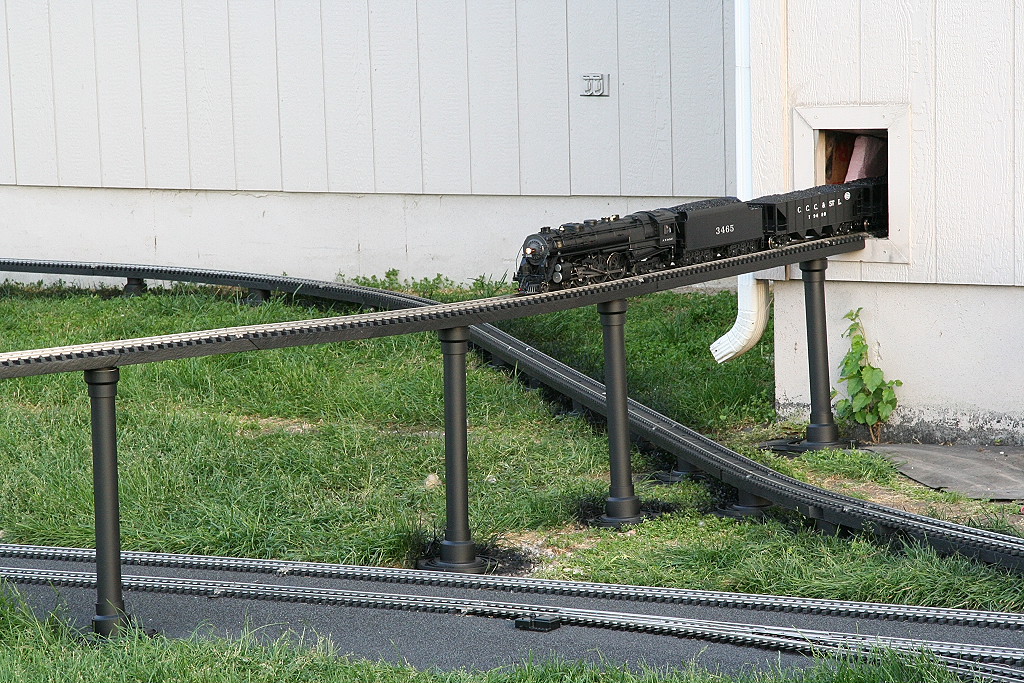
Construction is complete. The leveling and evening needs
to be fine tuned and the whole thing needs to be painted.
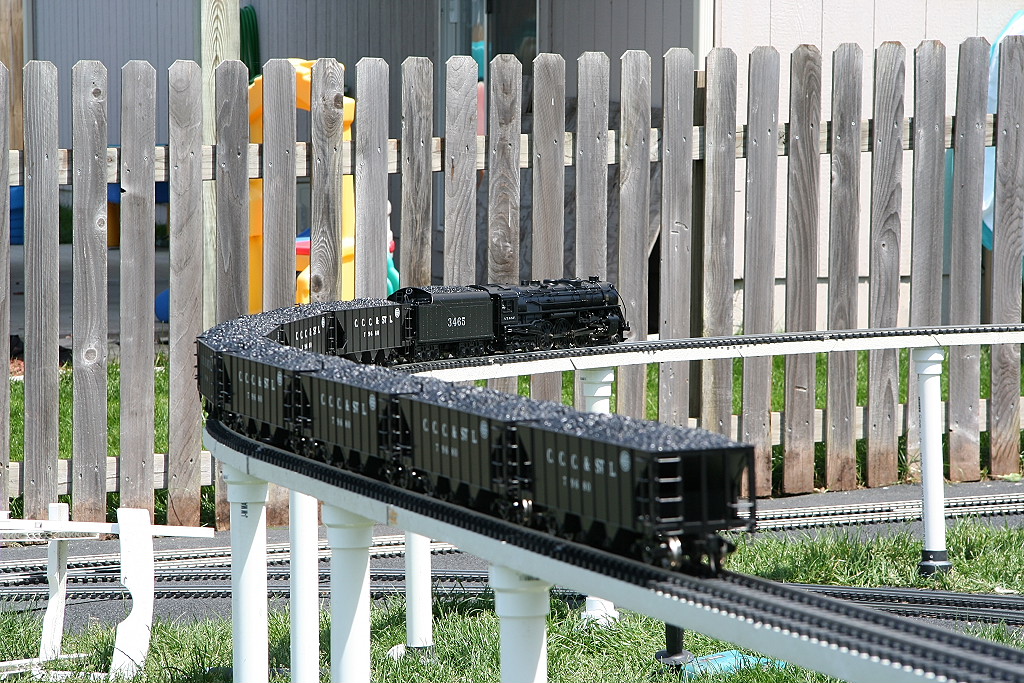
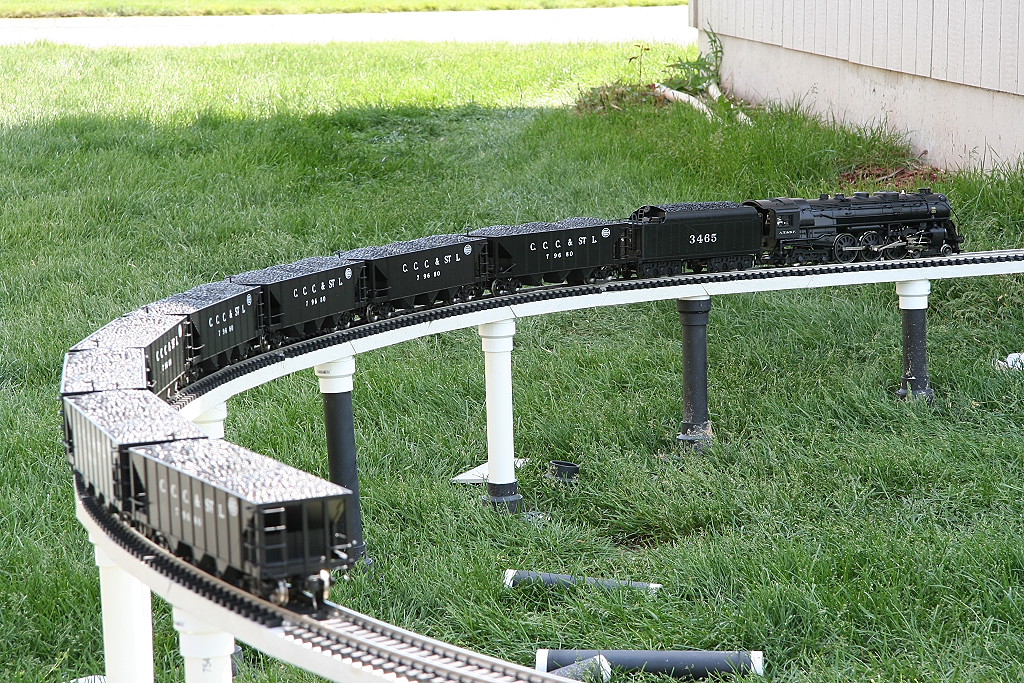
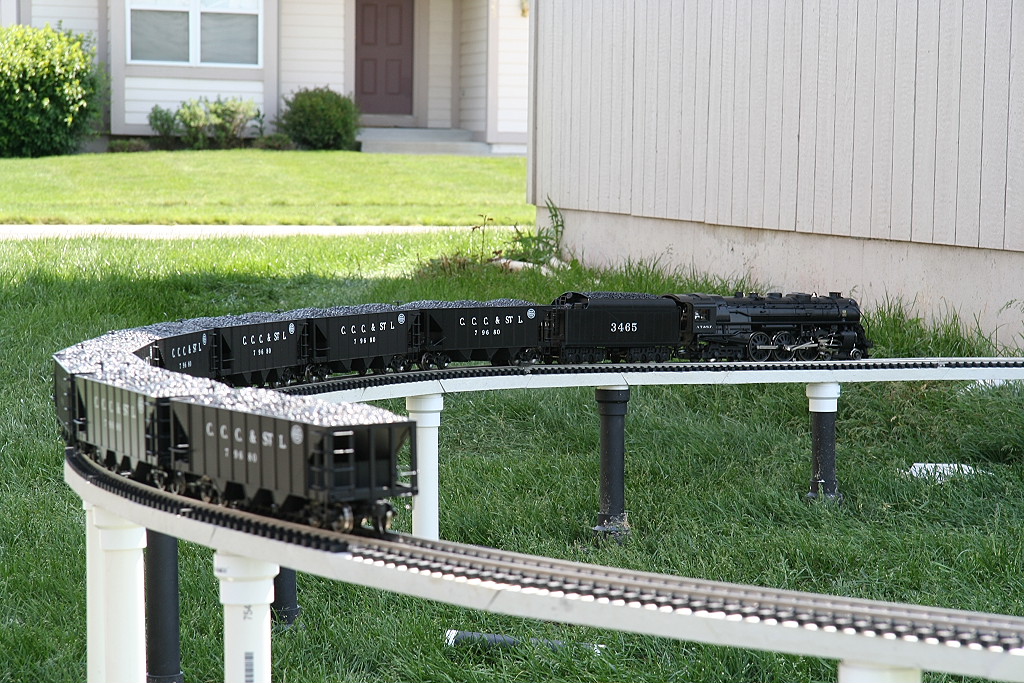
Just completed:
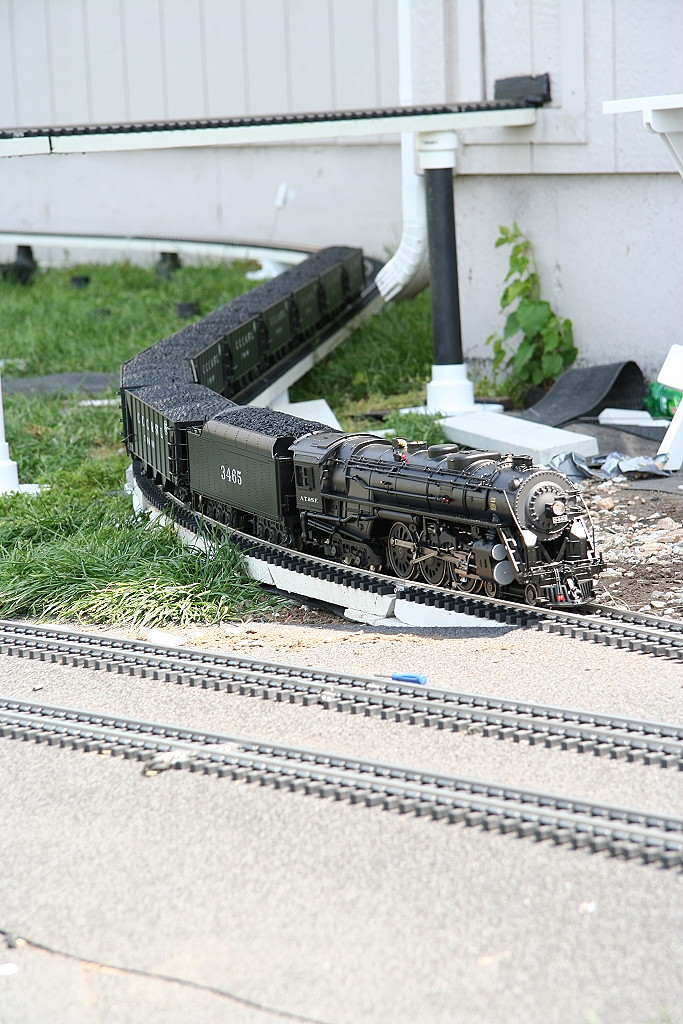
First test run:
Final photos with area cleaned up:
Now that it's complete, planning is now under way to figure out
how to get the lawn mower in the center.... Perhaps a winch / pulley setup
to lift it up and over?
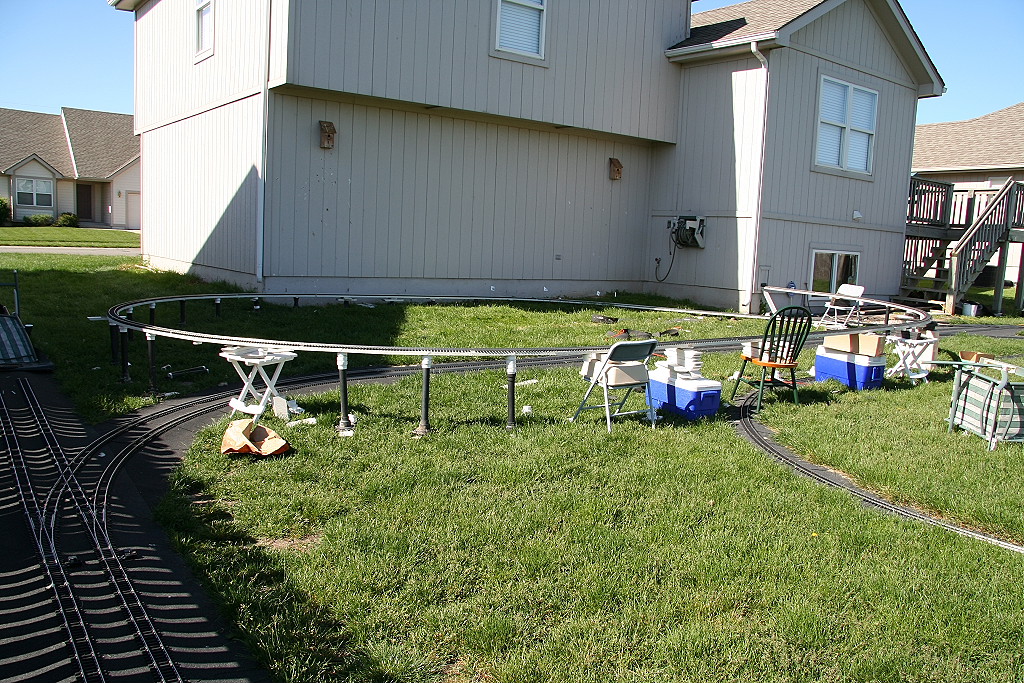
05/18/2006
The entire ramp is now painted black.
__________________________________________________________________________________
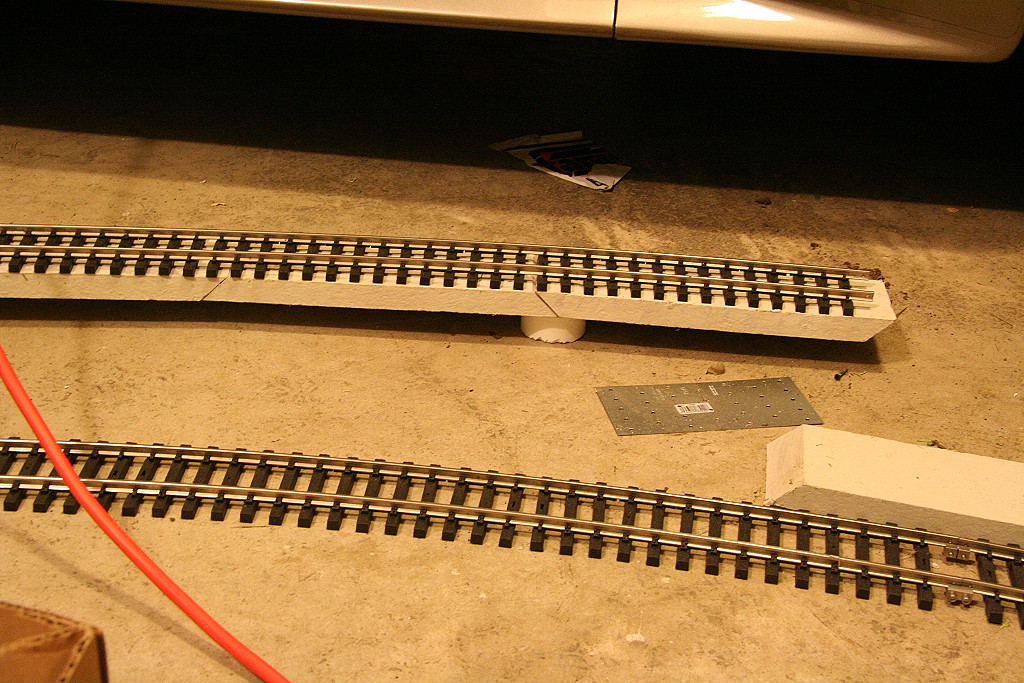
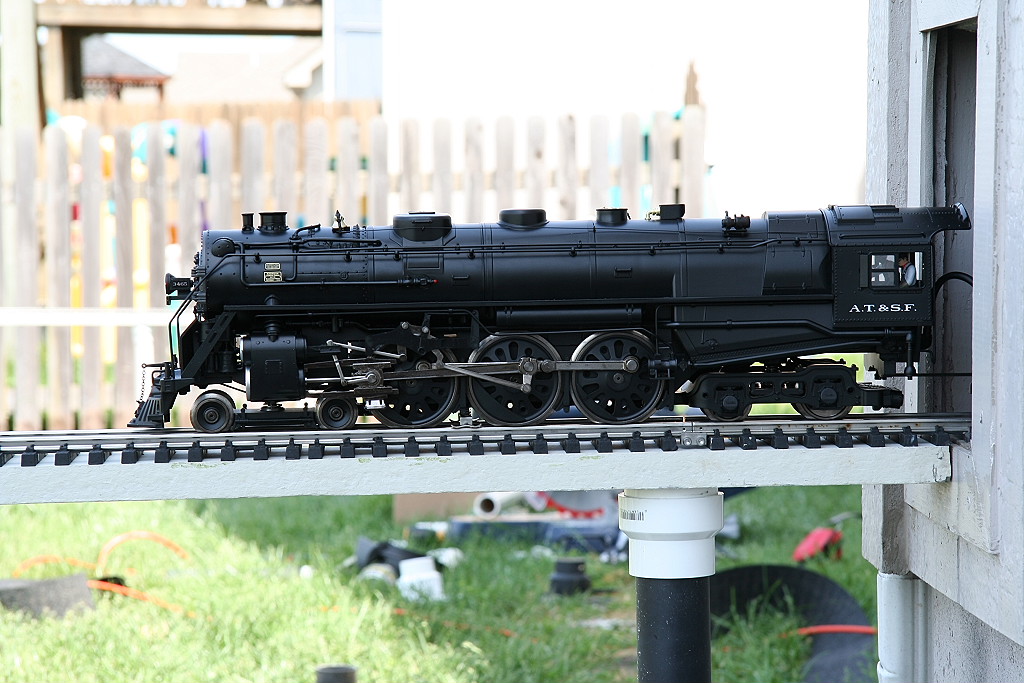
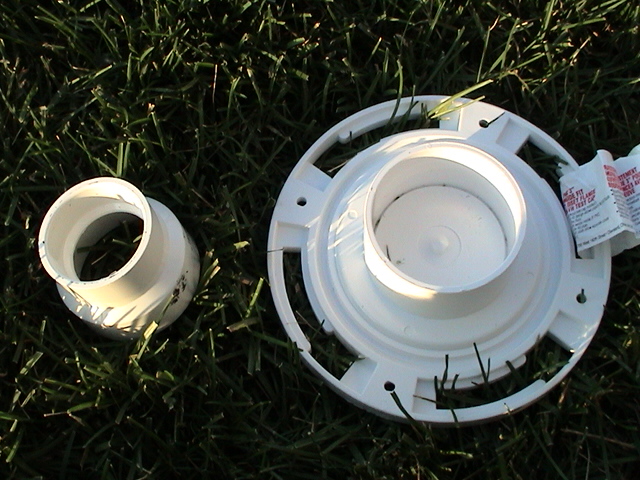
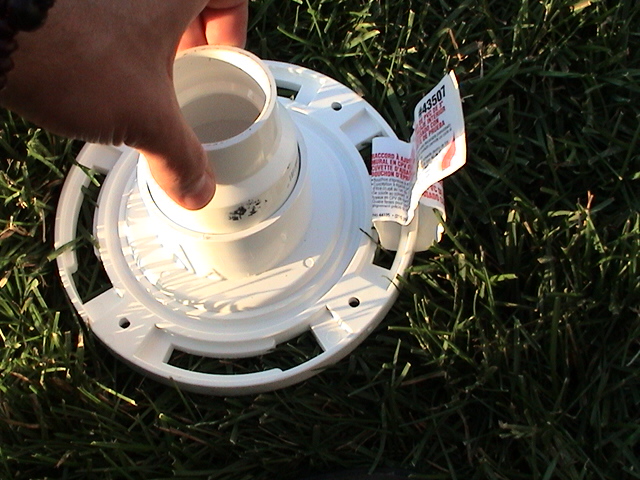
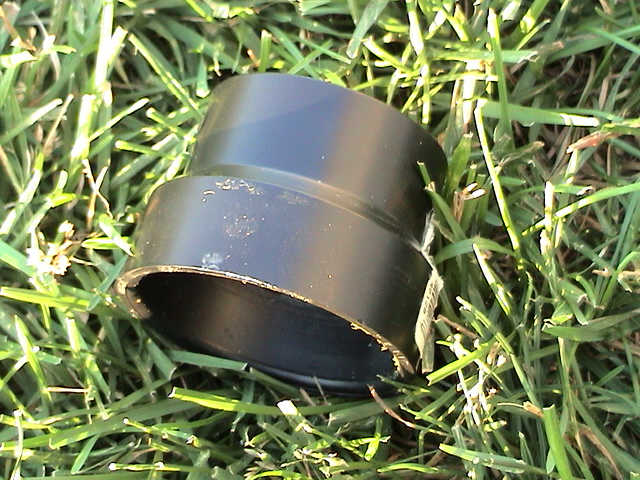
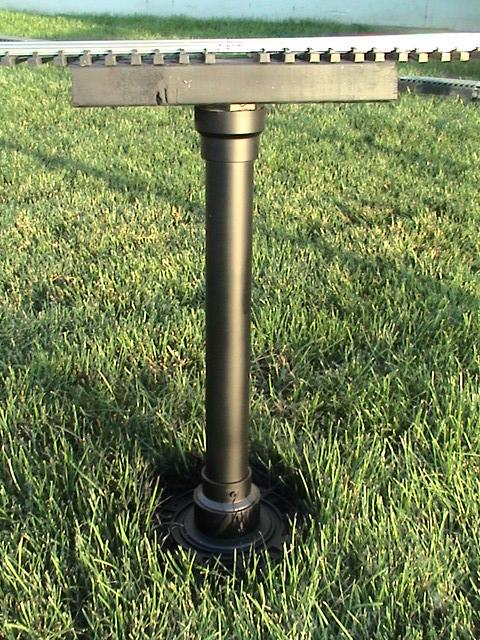
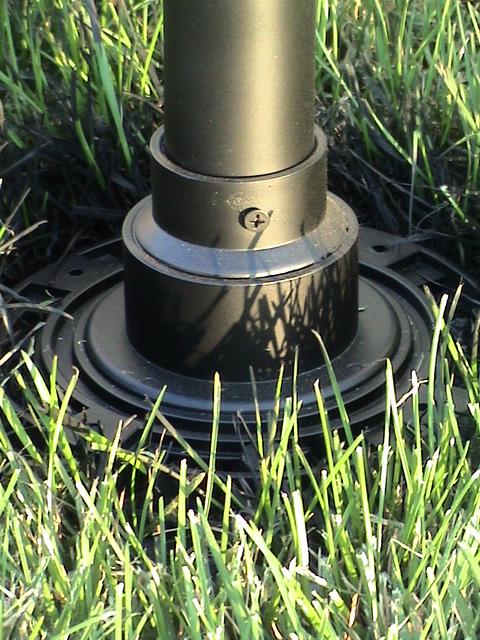
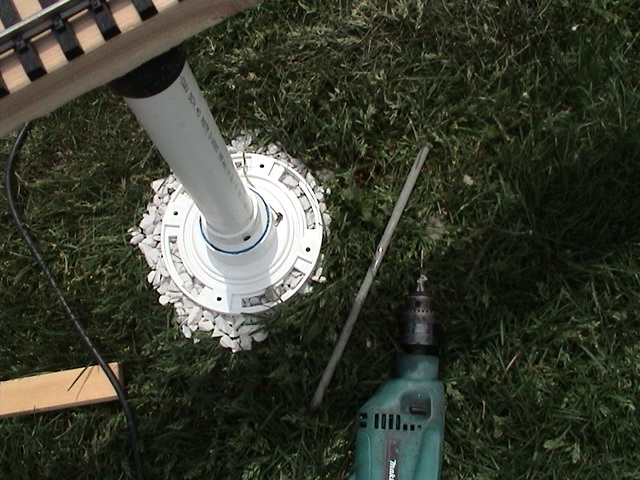
Info on the posts used to support the Bridge:
The base of the post (which is normally for toilet plumbing/toilet
base) could only be
found in the size I
needed at Home Depot. The base allows for a 2"-1.5" PVC adapter/reducer (can be found
at Home depot or Lowes) to fit perfectly in the topside of the opening. (The 2" side is what fits into the base) I used PVC adhesive
(the blue colored stuff) and put a generous amount around the outsides of the 2"
end of 2-1.5" adapter and inserted it into the base at the height I wanted it.
The adapter was inserted slowly
with a constant turning motion to spread the adhesive evenly inside the base. (I
didn't go all the way in as I wanted the transition of the base to the adapter
to the PVC pipe to look smooth.) I assembled a bunch of base/adapters at one
time and let the dry for 10 mins or so. (it drys very fast)
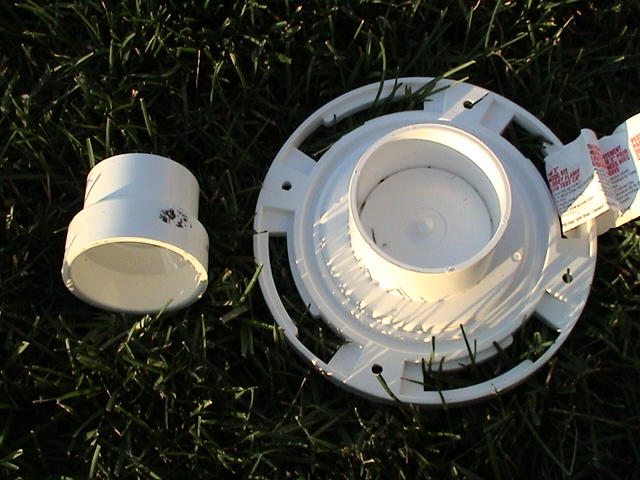
The now open end of the adapter is ready to accept the proper length section of
1.5" white PVC pipe. (I selected the white as
it was much stronger than the other black/gray type available) At
some point, drill a good size hole through the bottom of the base, otherwise it
will fill with water. In cold winter climates that could lead to that
water freezing and cracking the base. See/click
the pictures below:
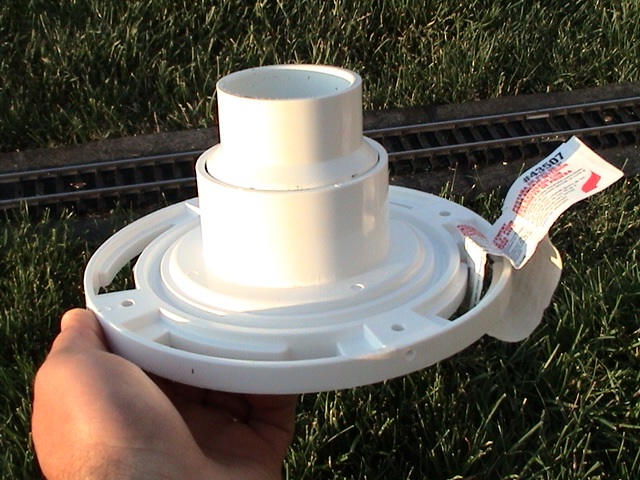
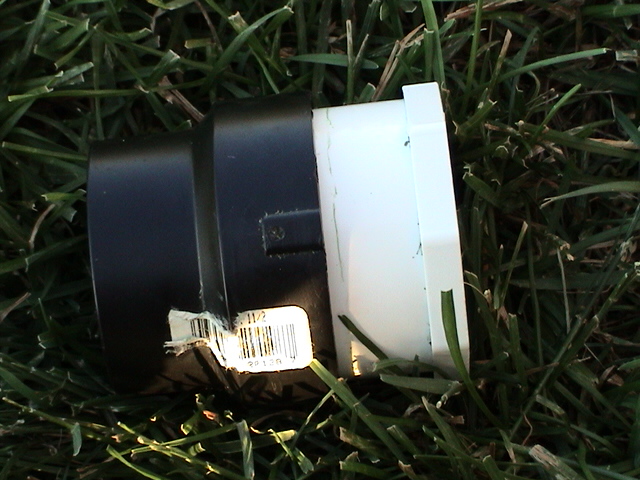
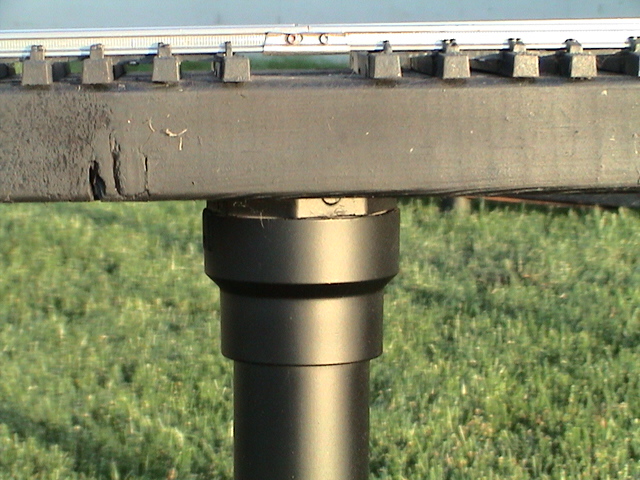
- Next, at the other end of where the length of 1.5" pipe goes,
another 2"-1.5" adapter is used to fit on the end to provide something to bolt
to the above track support. (In my case I happen to use a black PVC adapter for
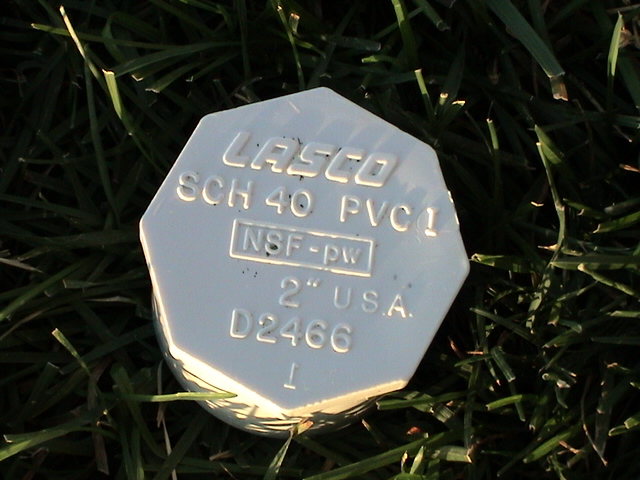
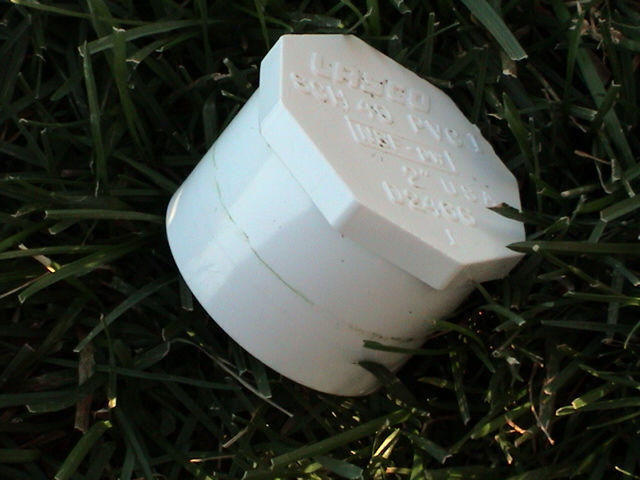
the top as opposed to the whites on the bottom) I used a flat-topped 2"
cap/plug (style I used was only available from Lowes) and inserted it into the 2" side of
the 2"-1.5" adapter. (no PVC adhesive) To make the cap fit all the way into the
adapter, I had to cut half the length off the cap itself.
Otherwise, the top of the cap would stick out way to far and show the sides of
the cap and not look right in my opinion. (I put the cap in a vise-clamp and
used my sawsall to cut through it. Like a knife through butter...) With the cap length cut,
the cap would now fit all the way down into the adapter.
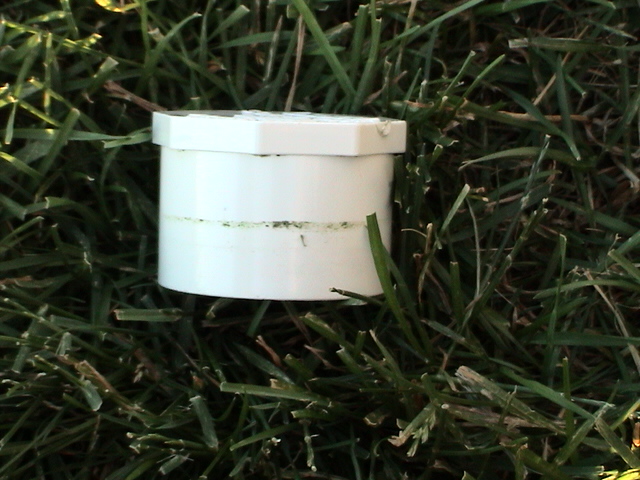
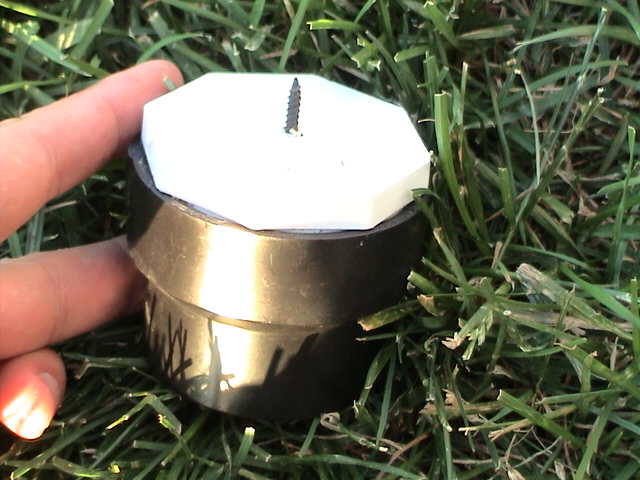
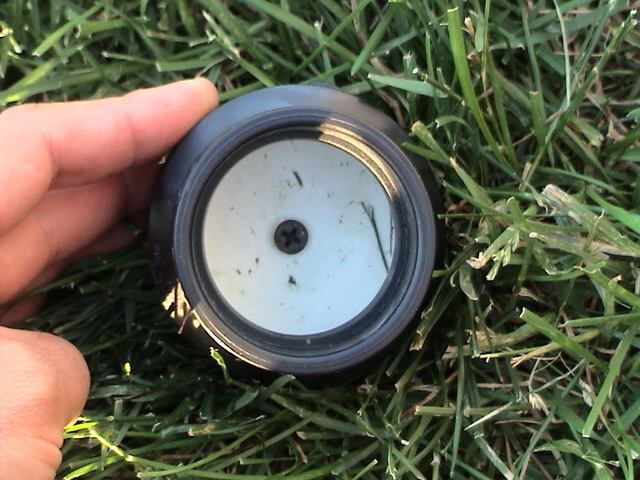
- I then drilled a small hole in the center of the cap so a drywall screw could
be screwed through the bottom (and what is now the inside of the assembled
piece) through the other flat side of the cap. With the screw through it, you
could then take your screw driver and screw it where you wanted the support to
be underneath the 2x4. The assembly will spin up to the bottom of the wood and
will pul up
tight to the bottom of the wood. See/click the pictures below:
(Note: in the side view of the 2" cap/plug, cut part of the
length off at about where the line is that is marked on the 5th picture below.
It will then fit all the way into the adapter as in the 6th picture.)
- Next, place the assembled base under where you want the support
to be. Then screw the top assembly into the bottom of the support wood. I
then put a bit of gravel (small rock) under the base to provide a solid
foundation. Then measure the distance between the inside of the 1.5" end of the
base where the pipe will be inserted to the inside of the 1.5" end of the inside
of the top assembly where the pipe will go.
- Cut a length of 1.5" pipe to that length and fit in both ends.
(no PVC adhesive unless you want it. I used a rotary saw to cut the PVC
pipe) See/click the picture below:
- If it sways back and forth after it's assembled you may need
to drill a hole (or use adhesive) through the side of the 1.5" part of the
adapter and screw a drywall screw on each side of the pipe to keep it from
swaying. (put on the sides facing the outside of the bridge not facing the underneath
side.) I chose not to use adhesive so that it could be easily disassembled to
repair or replace sections if I need to. Like for instance if the ground settles under it, I
could replace the 1.5" pipe section with a longer one if need be.)
See/click the picture below:
- Make sure the track is level with leveler. You may have to slightly alter the
angle of the post to make sure the track is level.
**Optional**
- (I used these stakes on the original ramp I built in 2004, but not the new one
as I found them unnecessary.) Once level, hammer a couple of stakes (I used two-13" stakes
- one on each side on the
outsides of the bridge as it needs side to side support) through the slot on the
sides of the bottom of the base to secure it. (Note the stakes on the ground and
in the base) See/click the picture below:
- Then push on the top of the track and Hariplank support to force it together
securely. If it sways you can then put the screws through the adapters and pipe
to secure it.
Your done!
__________________________________________________________________________________
Return to Garden Railroad
2006 page.

Web Counter